It’s no secret that I love a good journal. From Erin Condren Life Planners, to Happiness Planners, to Day Designers, and everything in between, I have a planner for every occasion, pretty much. When it comes to my blog, my go-to is my bullet journal. I’ve had some trial and error in making the pages that work for me, so today I’m going to give you a peek inside my bullet journal for blogging!
First of all, the reason I love my bujo for blogging is that it’s completely customizable. Yes, it may take a little more time to set up your pages than a normal planner does, but the end result is completely tailored to what you need. Plus, you can be as creative or as basic as you want! I love looking at gorgeous bullet journal photos on Instagram and Pinterest, but I know I couldn’t ever make mine look that good. And that’s fine! What I wanted was something I would find useful, not something I would have to struggle over week over week.
The journal I am using right now is the Leuchtturm1917, which is sort of the go-to for a lot of bullet journalers. It has dotted pages with numbers in the bottom right corner, as well as an index at the front. It also comes with an elastic band to keep the cover closed and two ribbon bookmarks.
Year at a Glance
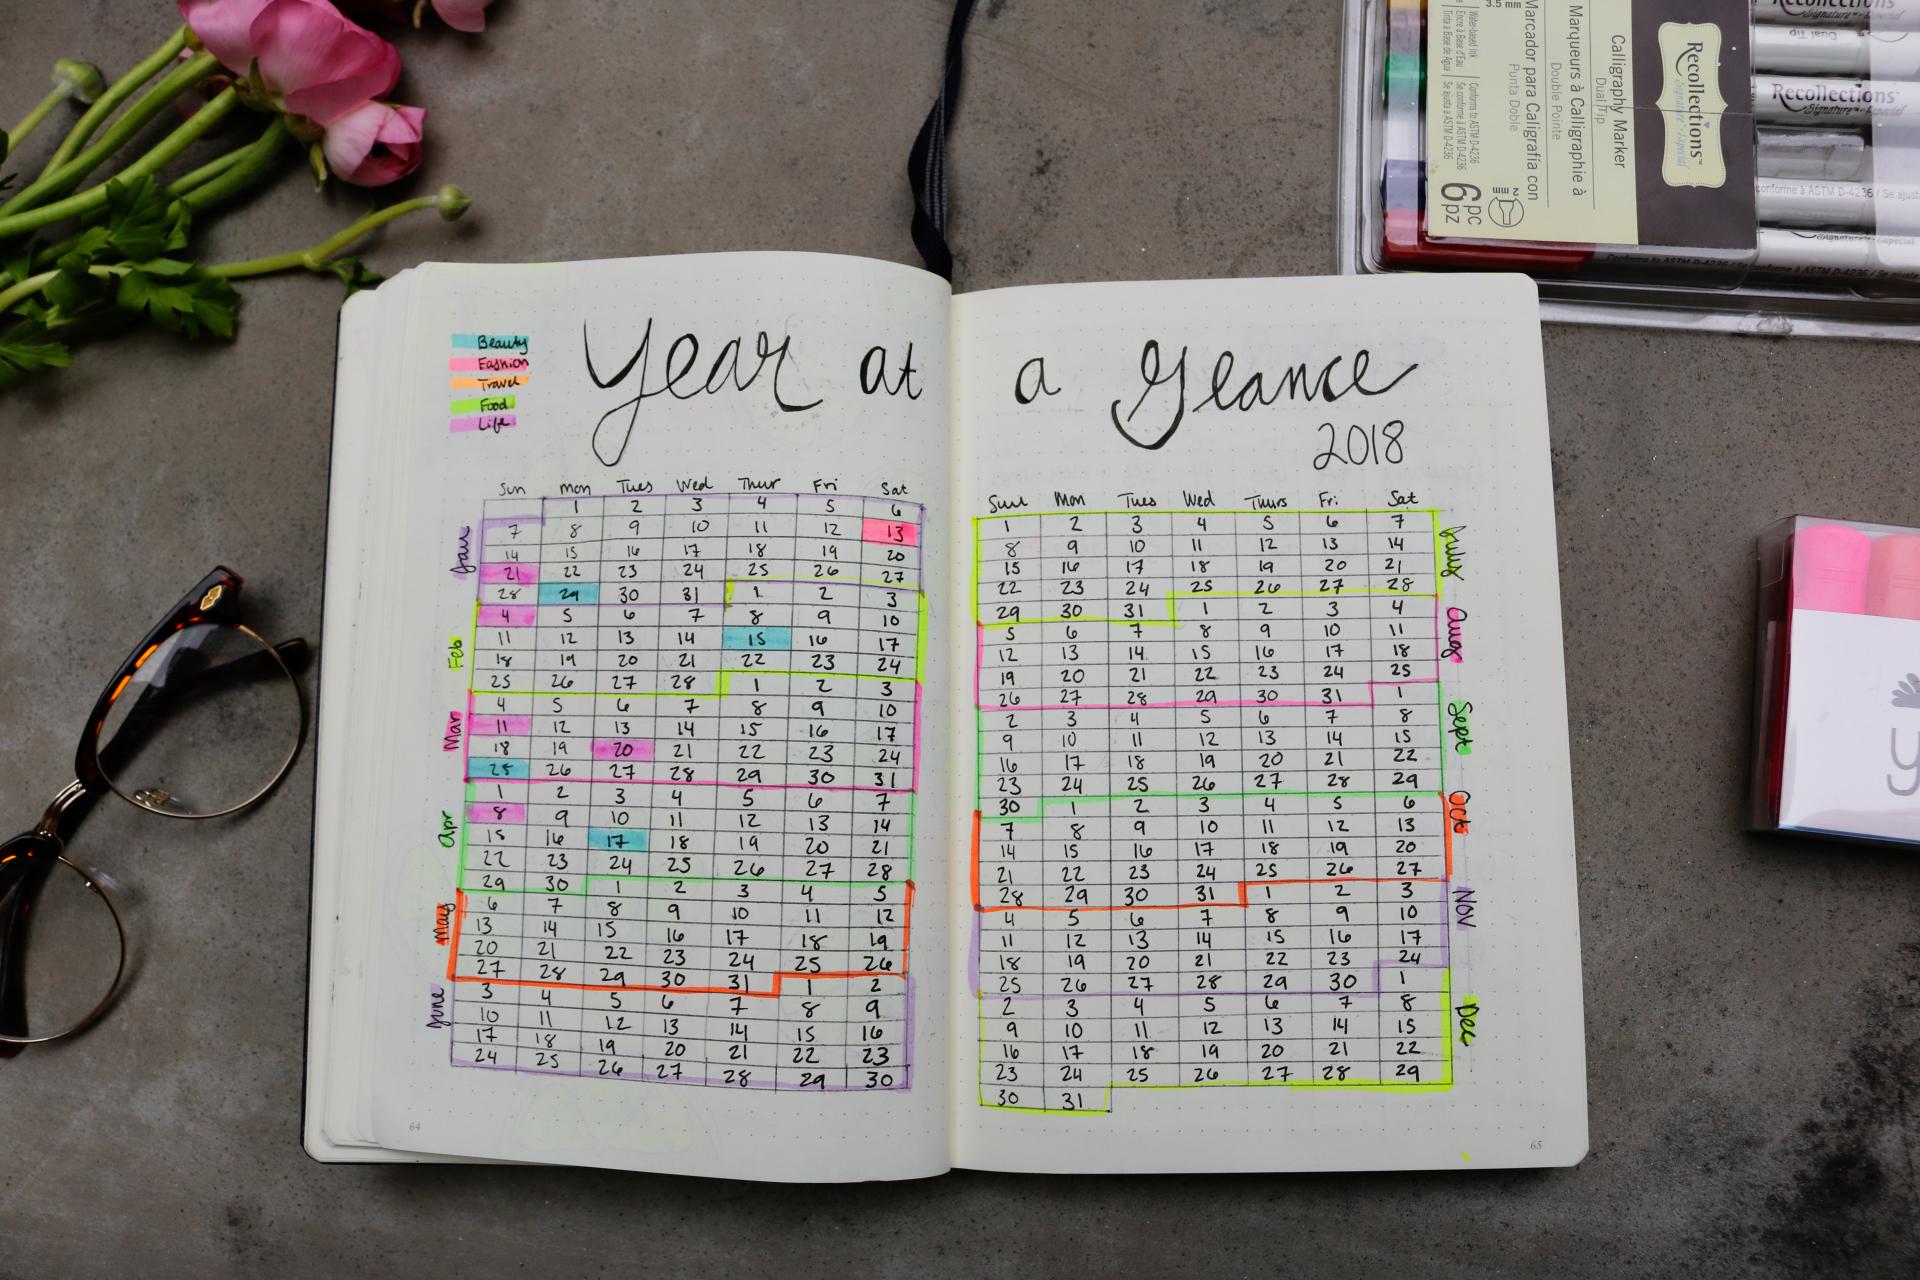
At the front of my journal, I have a spread called Year at a Glance. Every day of the year has its own square, and the months are separated by a colorful line. I’ve been using this spread to track what types of posts I publish and when. I think this is a really great way to see how my cadence is and how it’s working. For example, I noticed I haven’t posted any food-related posts at all in 2018! Stay tuned, because I’m fixing that soon 🙂
Stats Tracker and Dream Partners
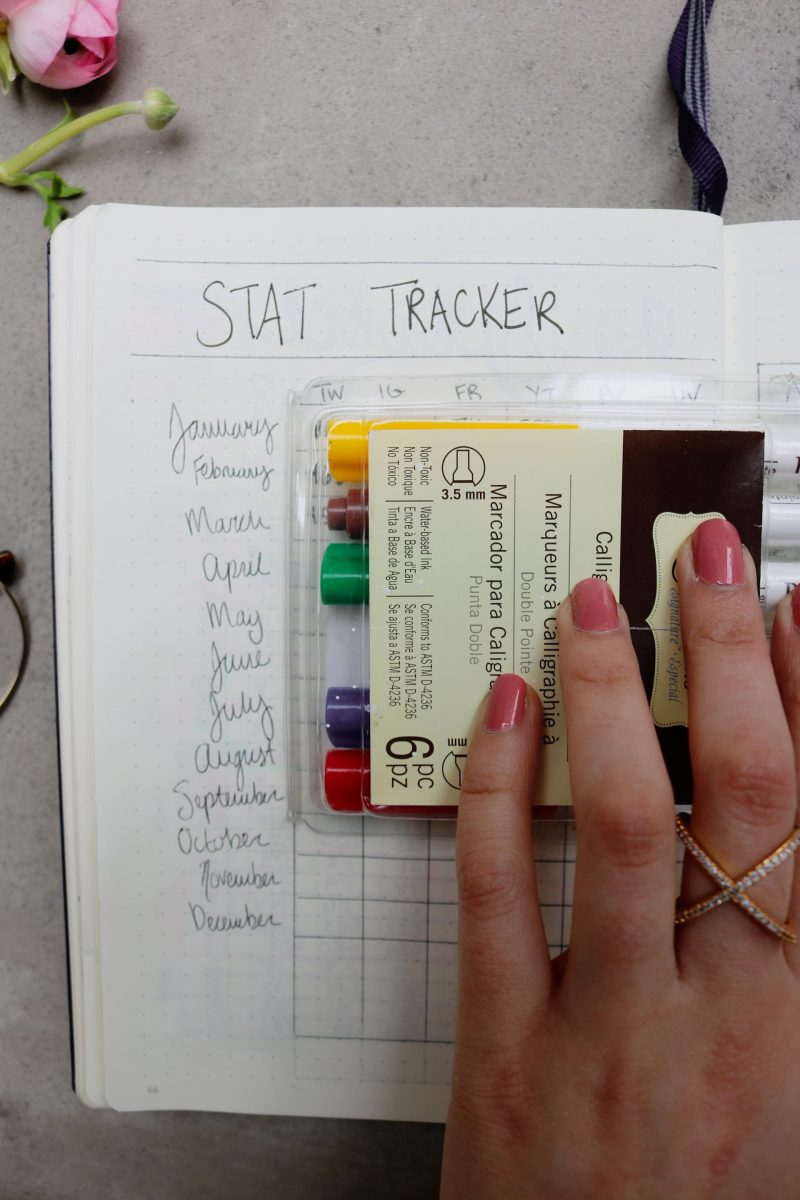
On the next two pages, I have my stats tracker and my “dream partners” page. For the stats tracker, I’ve got the months down the left side and then the metrics at the top. I’ve chosen Twitter, Instagram, Facebook, and Youtube followers, as well as monthly page views and unique visitors. This is a really great way to track your growth (or stagnation!). PS sorry for me covering up my numbers- I’m still a little shy!
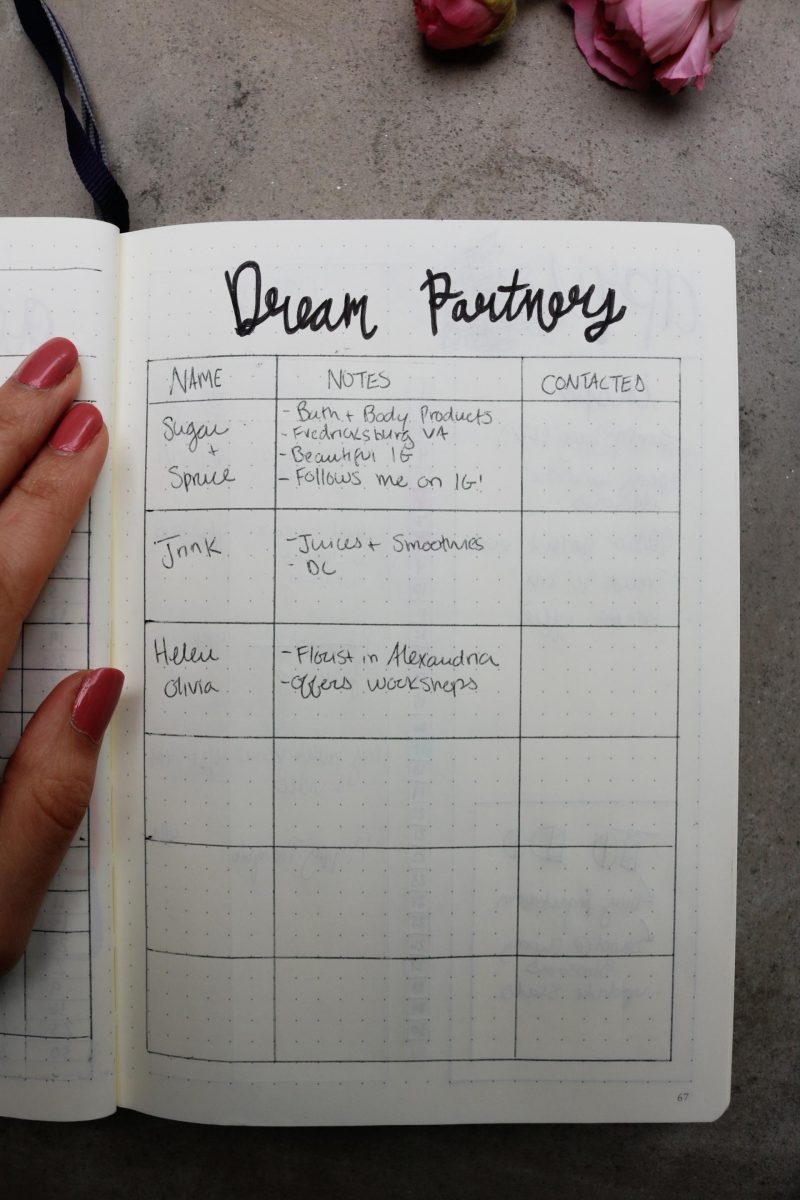
On the opposite page is my dream partners page. Here, I’ve listed out the top three (so far) companies/groups that I would absolutely love to partner with for content. I’ve written the name and some notes, and then followed with a “contacted” box. Once I actually reach out to these groups, I’ll put the date I did so and any follow up there. I’m still a growing blogger, so I don’t need pages that keep track of lots of partnerships. If you do, that’s amazing! I’d recommend checking out Lily Pebbles‘ bullet journal video for that!
The Monthly Spread
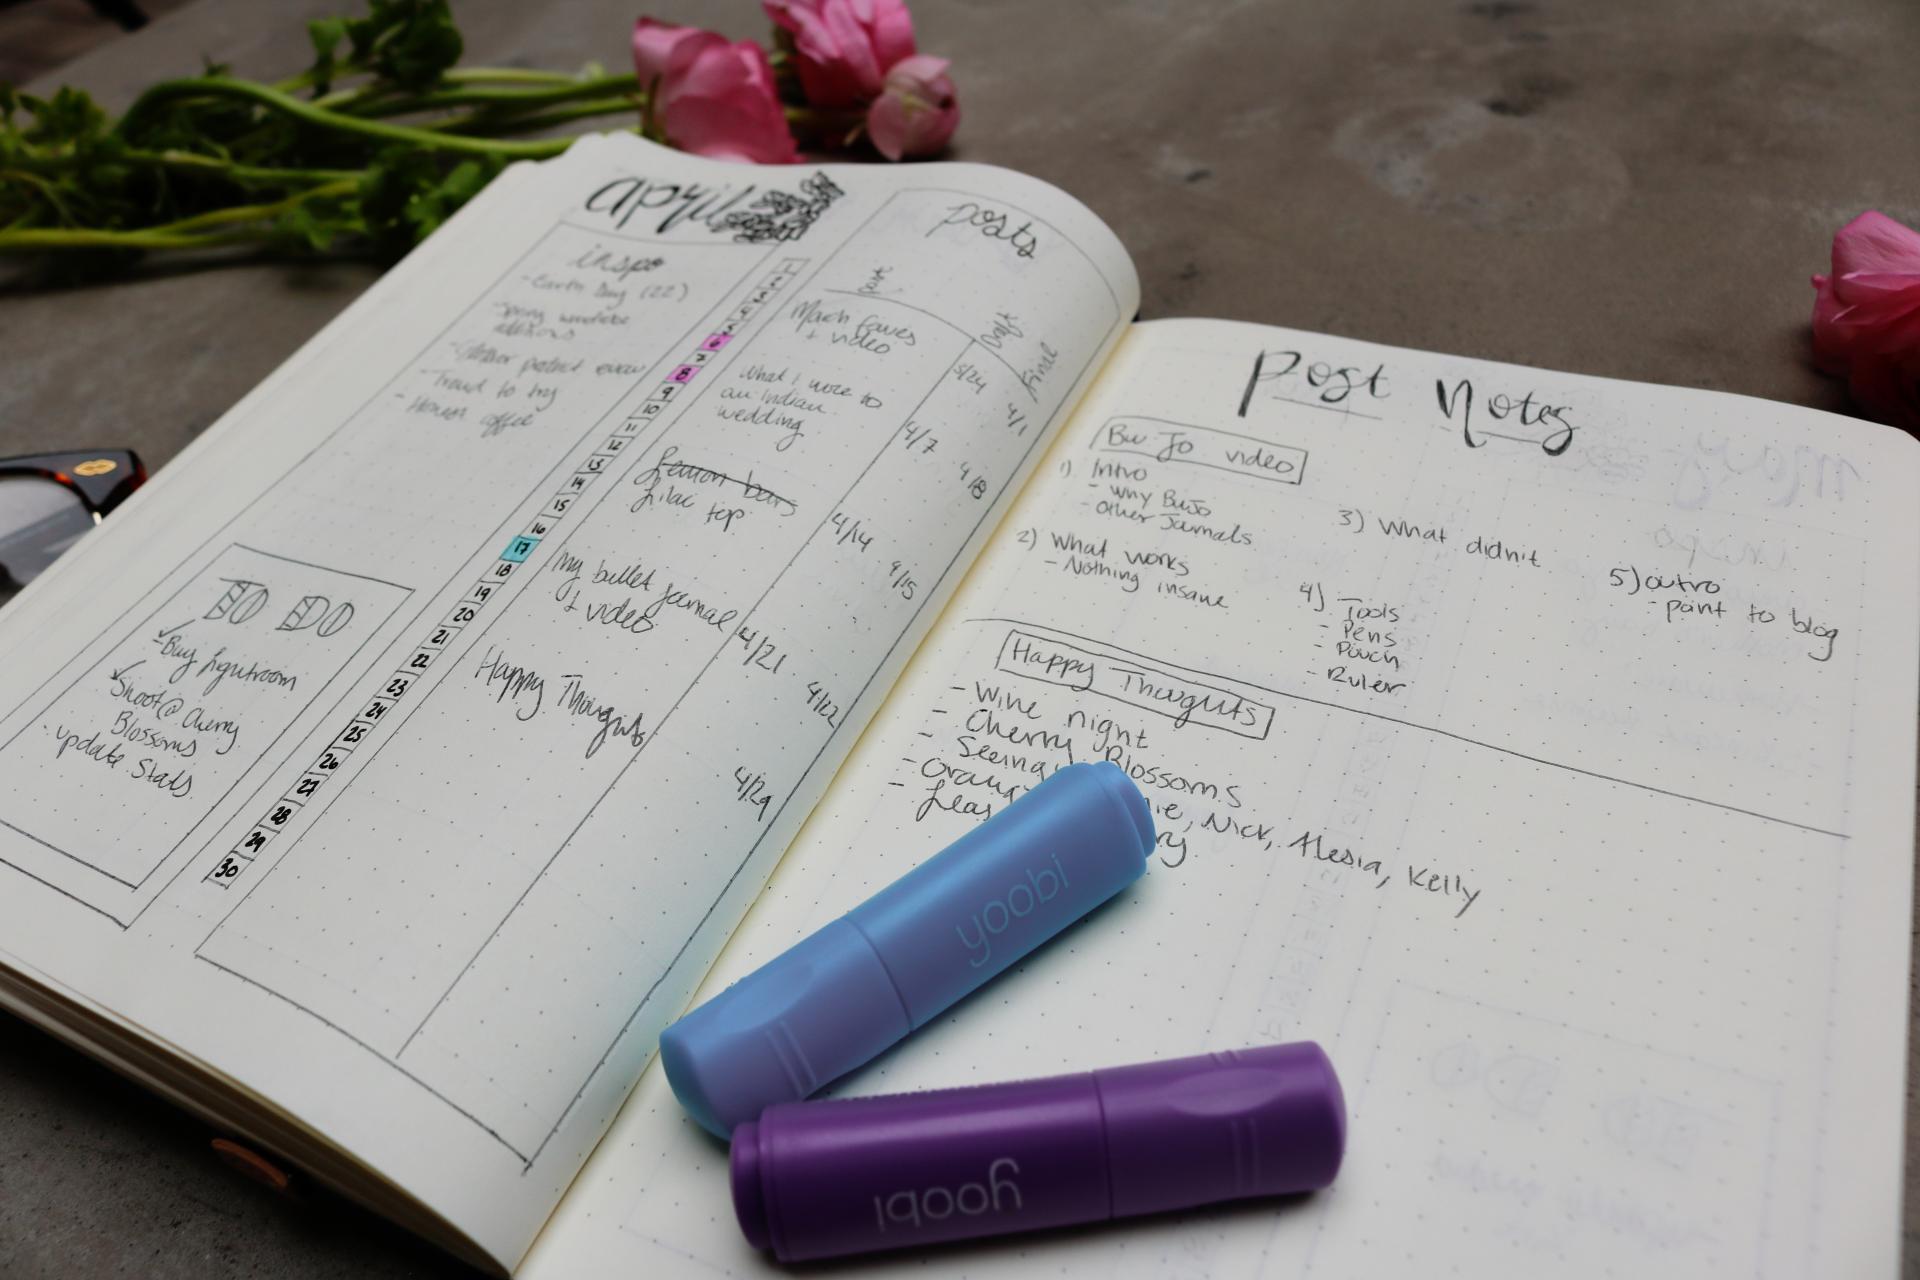
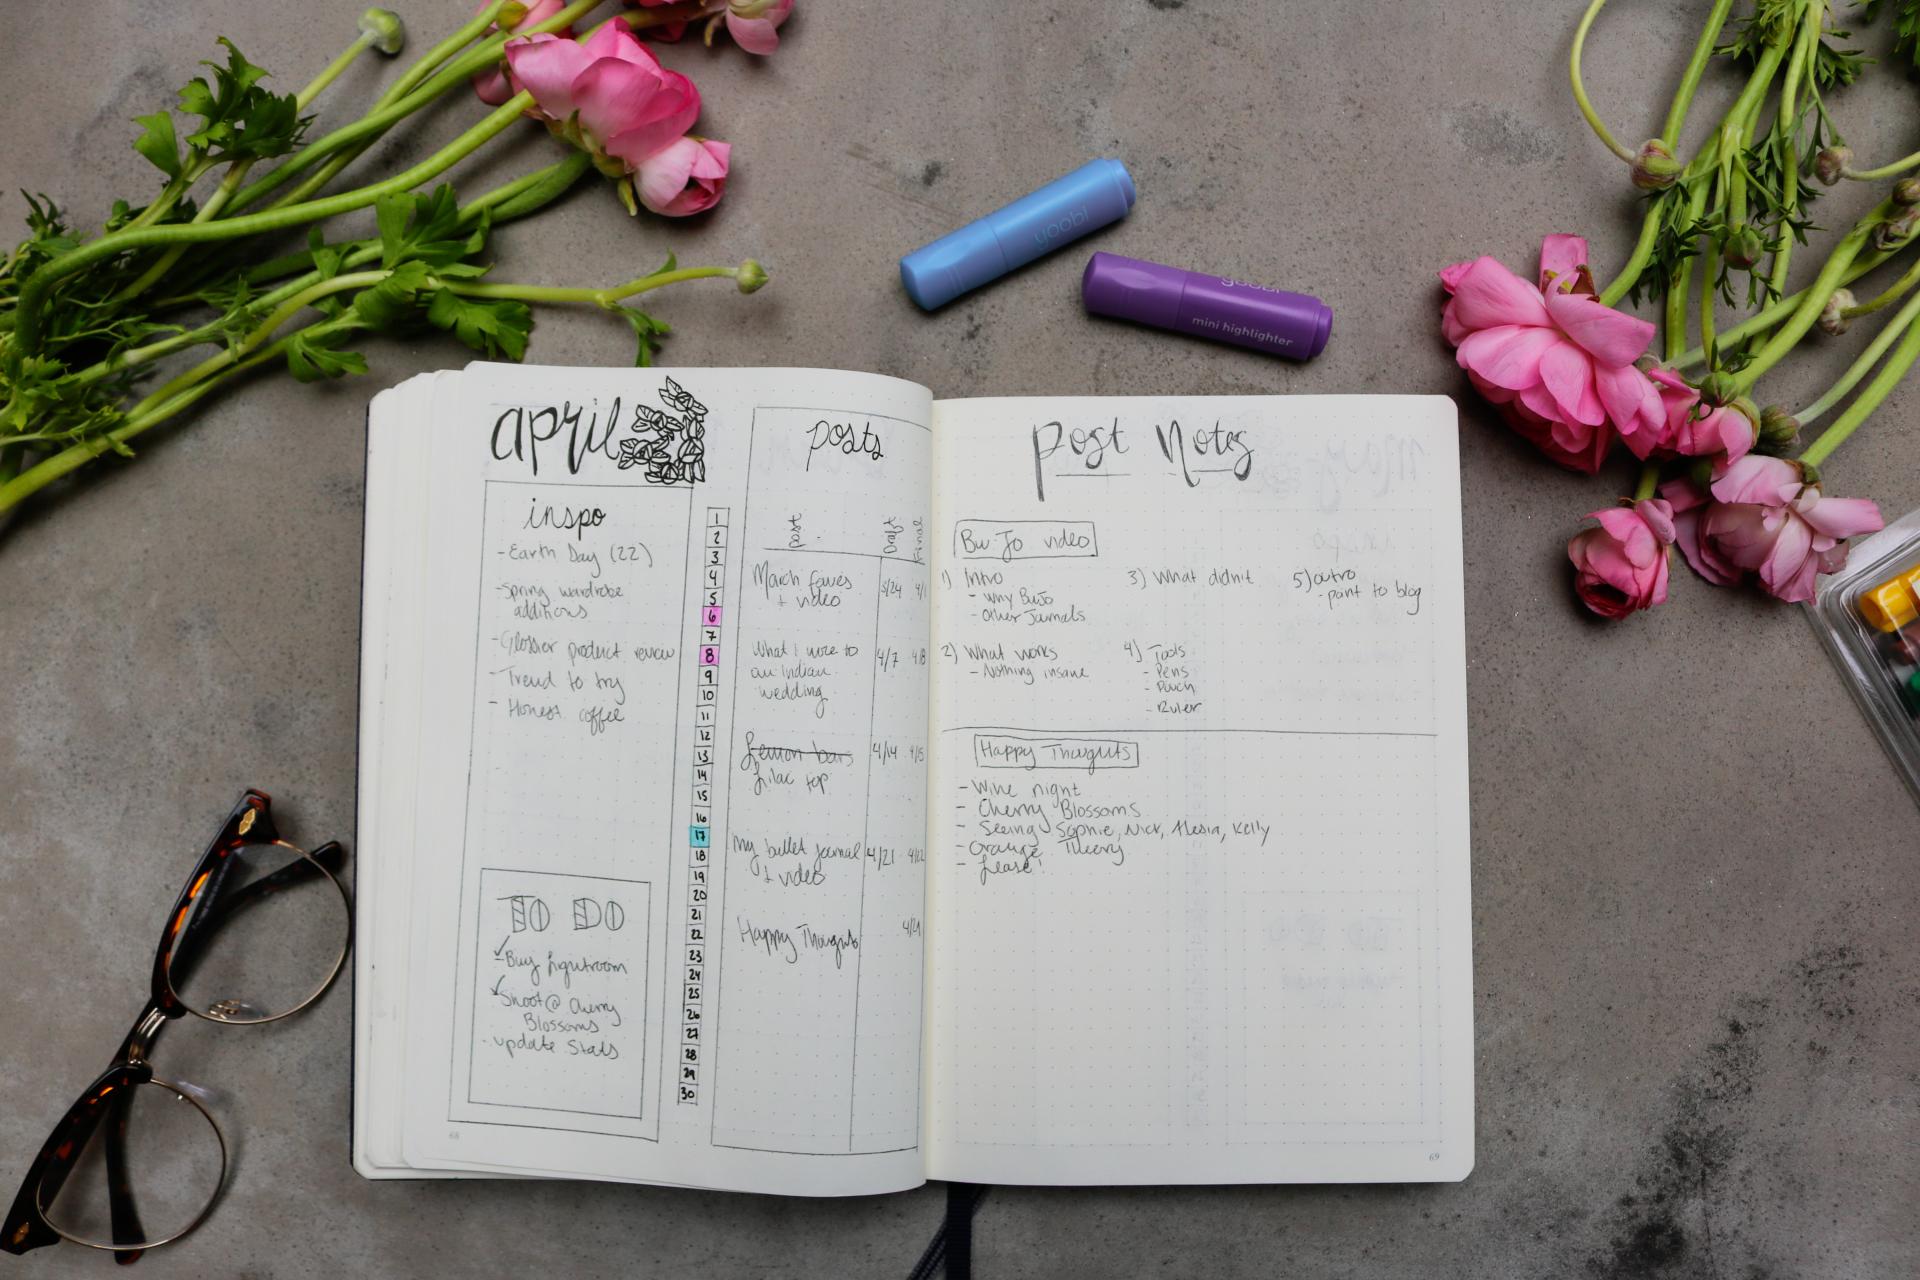
Alright, so the bread and butter of this journal are my monthly spread pages. On the left page, I first have a space for inspiration. This includes any holidays or special events, as well as types of content I’ve seen on other pages or ideas I’ve had for my own blog. Below that is my to do list. In April, you can see things like “Buy Lightroom,” which I’ve done! That one gets ticked. In the middle of the page, there is a narrow rectangle of boxes, each representing the days of the month. This is similar to my “year at a glance” page, but on a monthly scale. Then there is a box for the posts themselves. I have the title of the post, the draft due date, and the final publishing date. As you can see, sometimes things change around, and that’s totally fine. The page on the right is dedicated to post planning. I use this to get my thoughts in order and make sure I don’t forget anything. It’s also really great to plan out how things are going to look beforehand so you can be totally prepared when you sit down to create!
The Tools
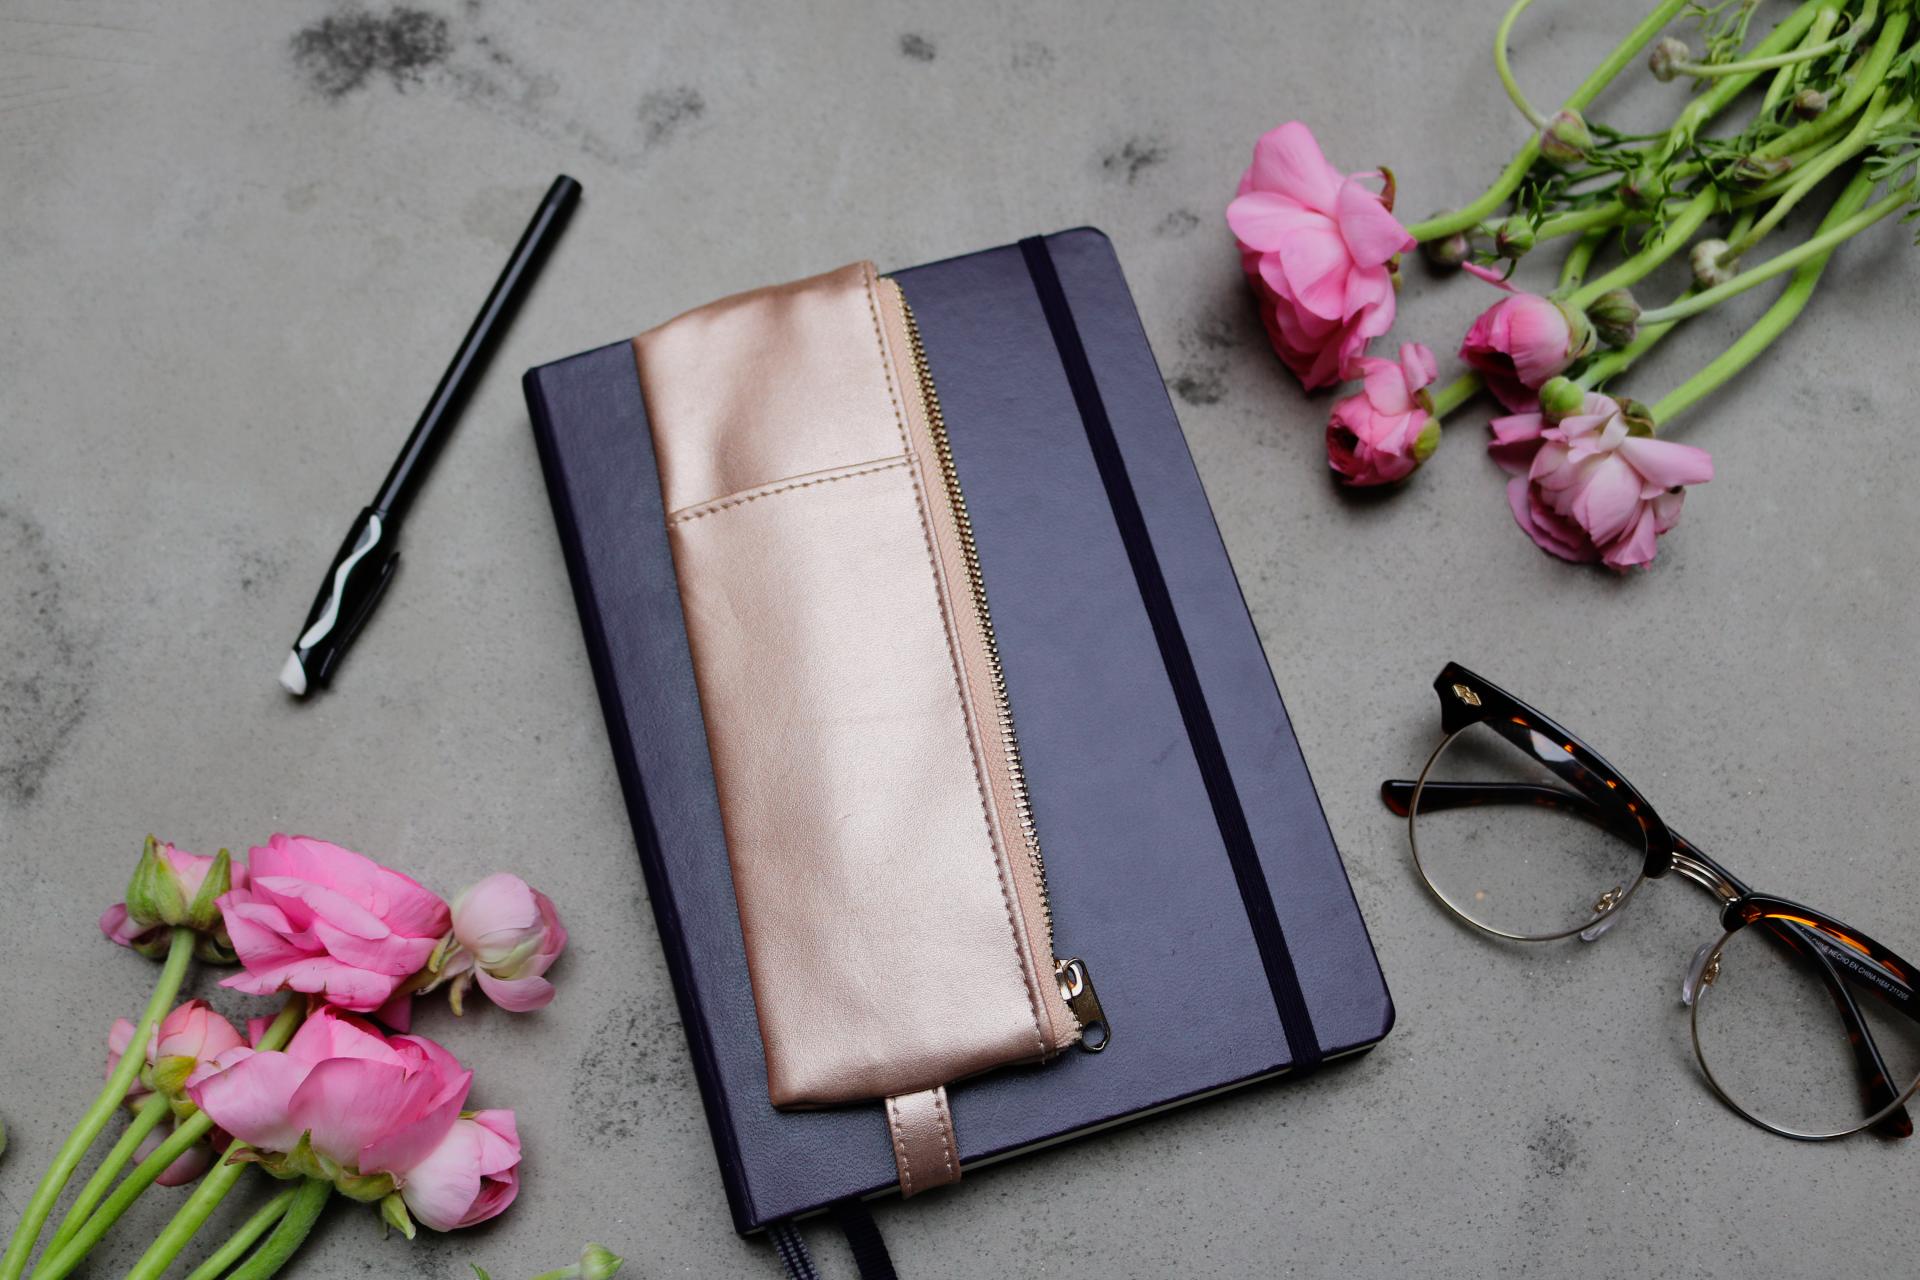
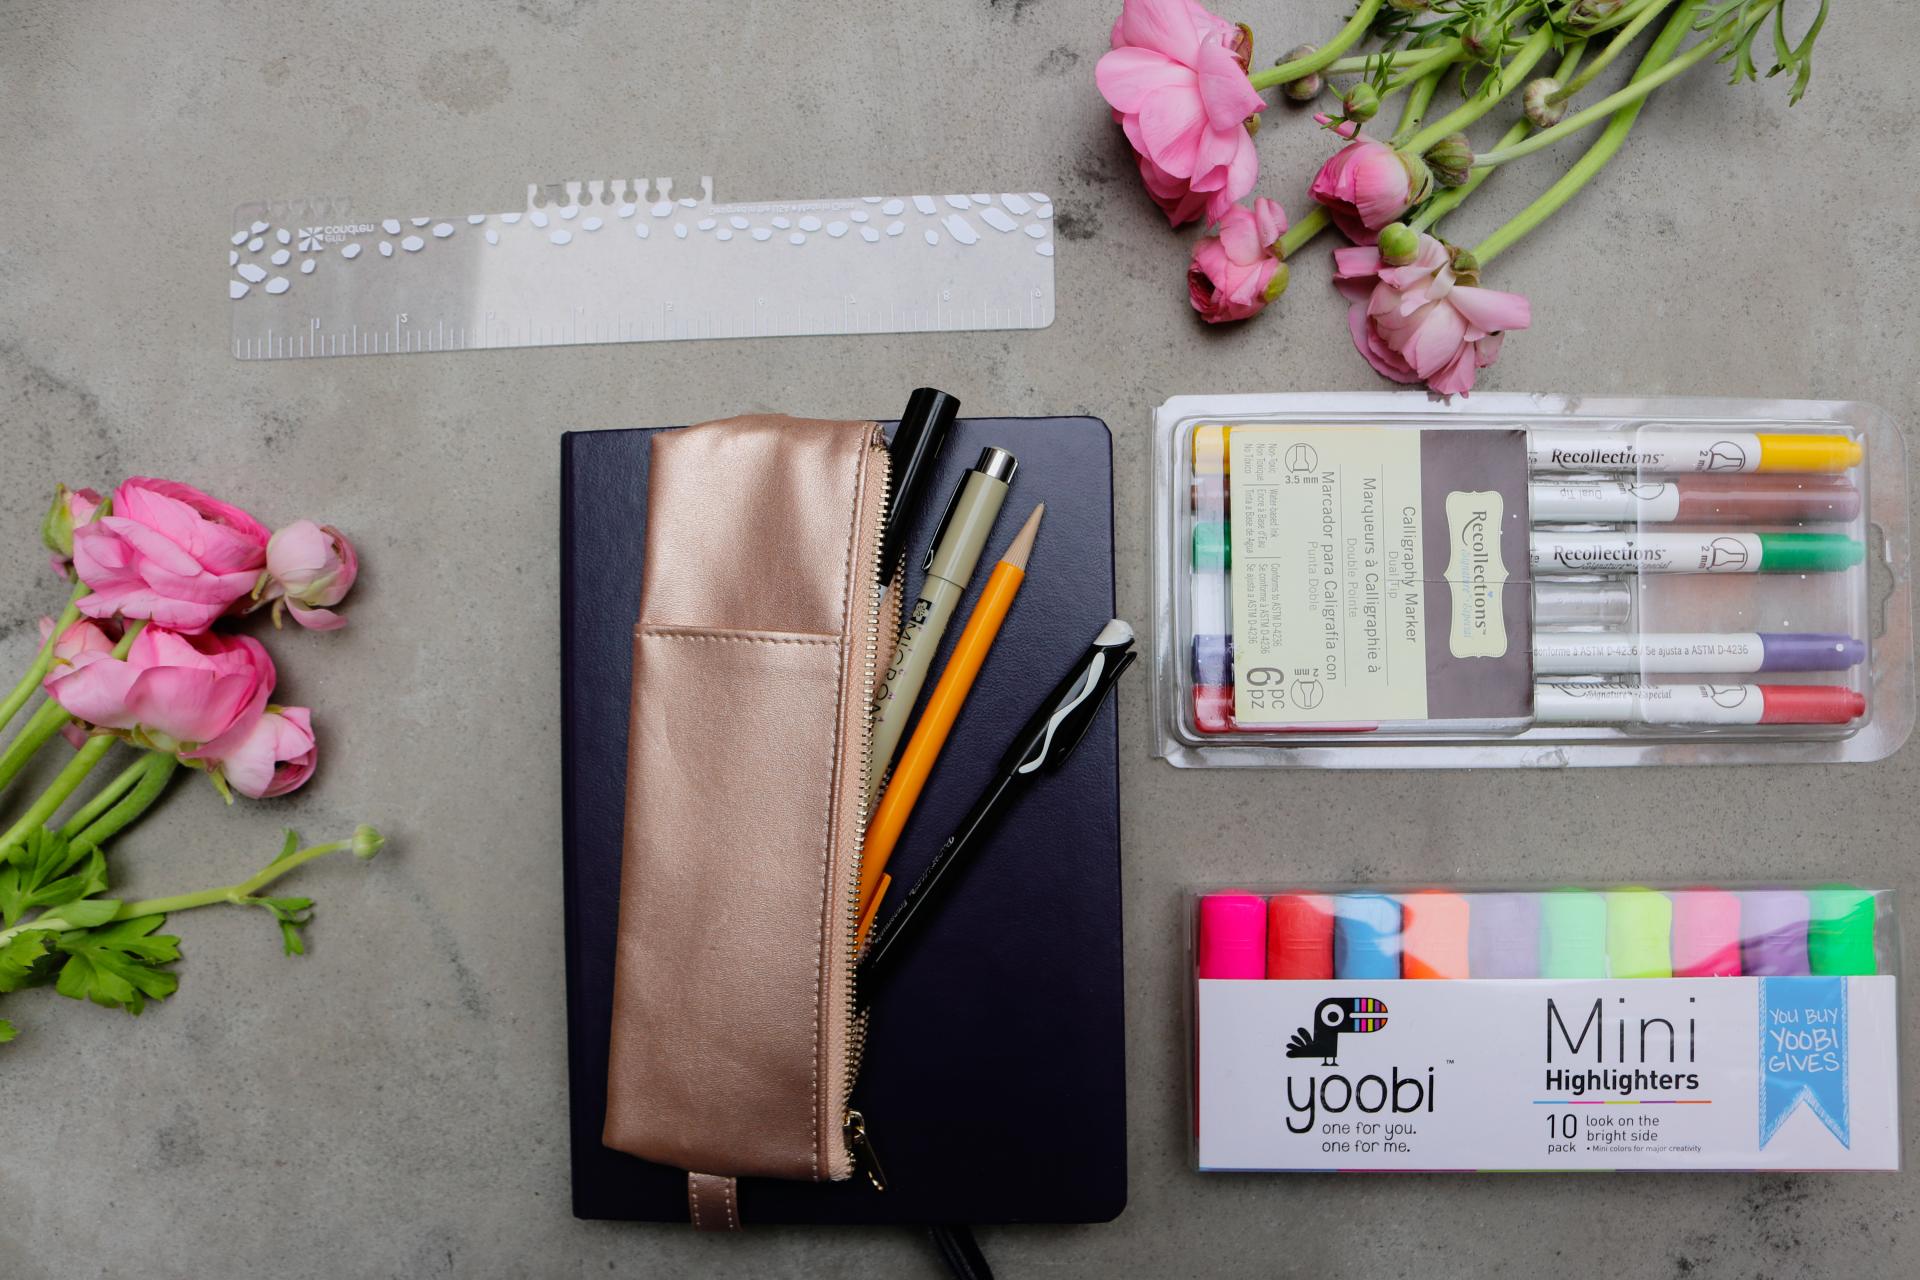
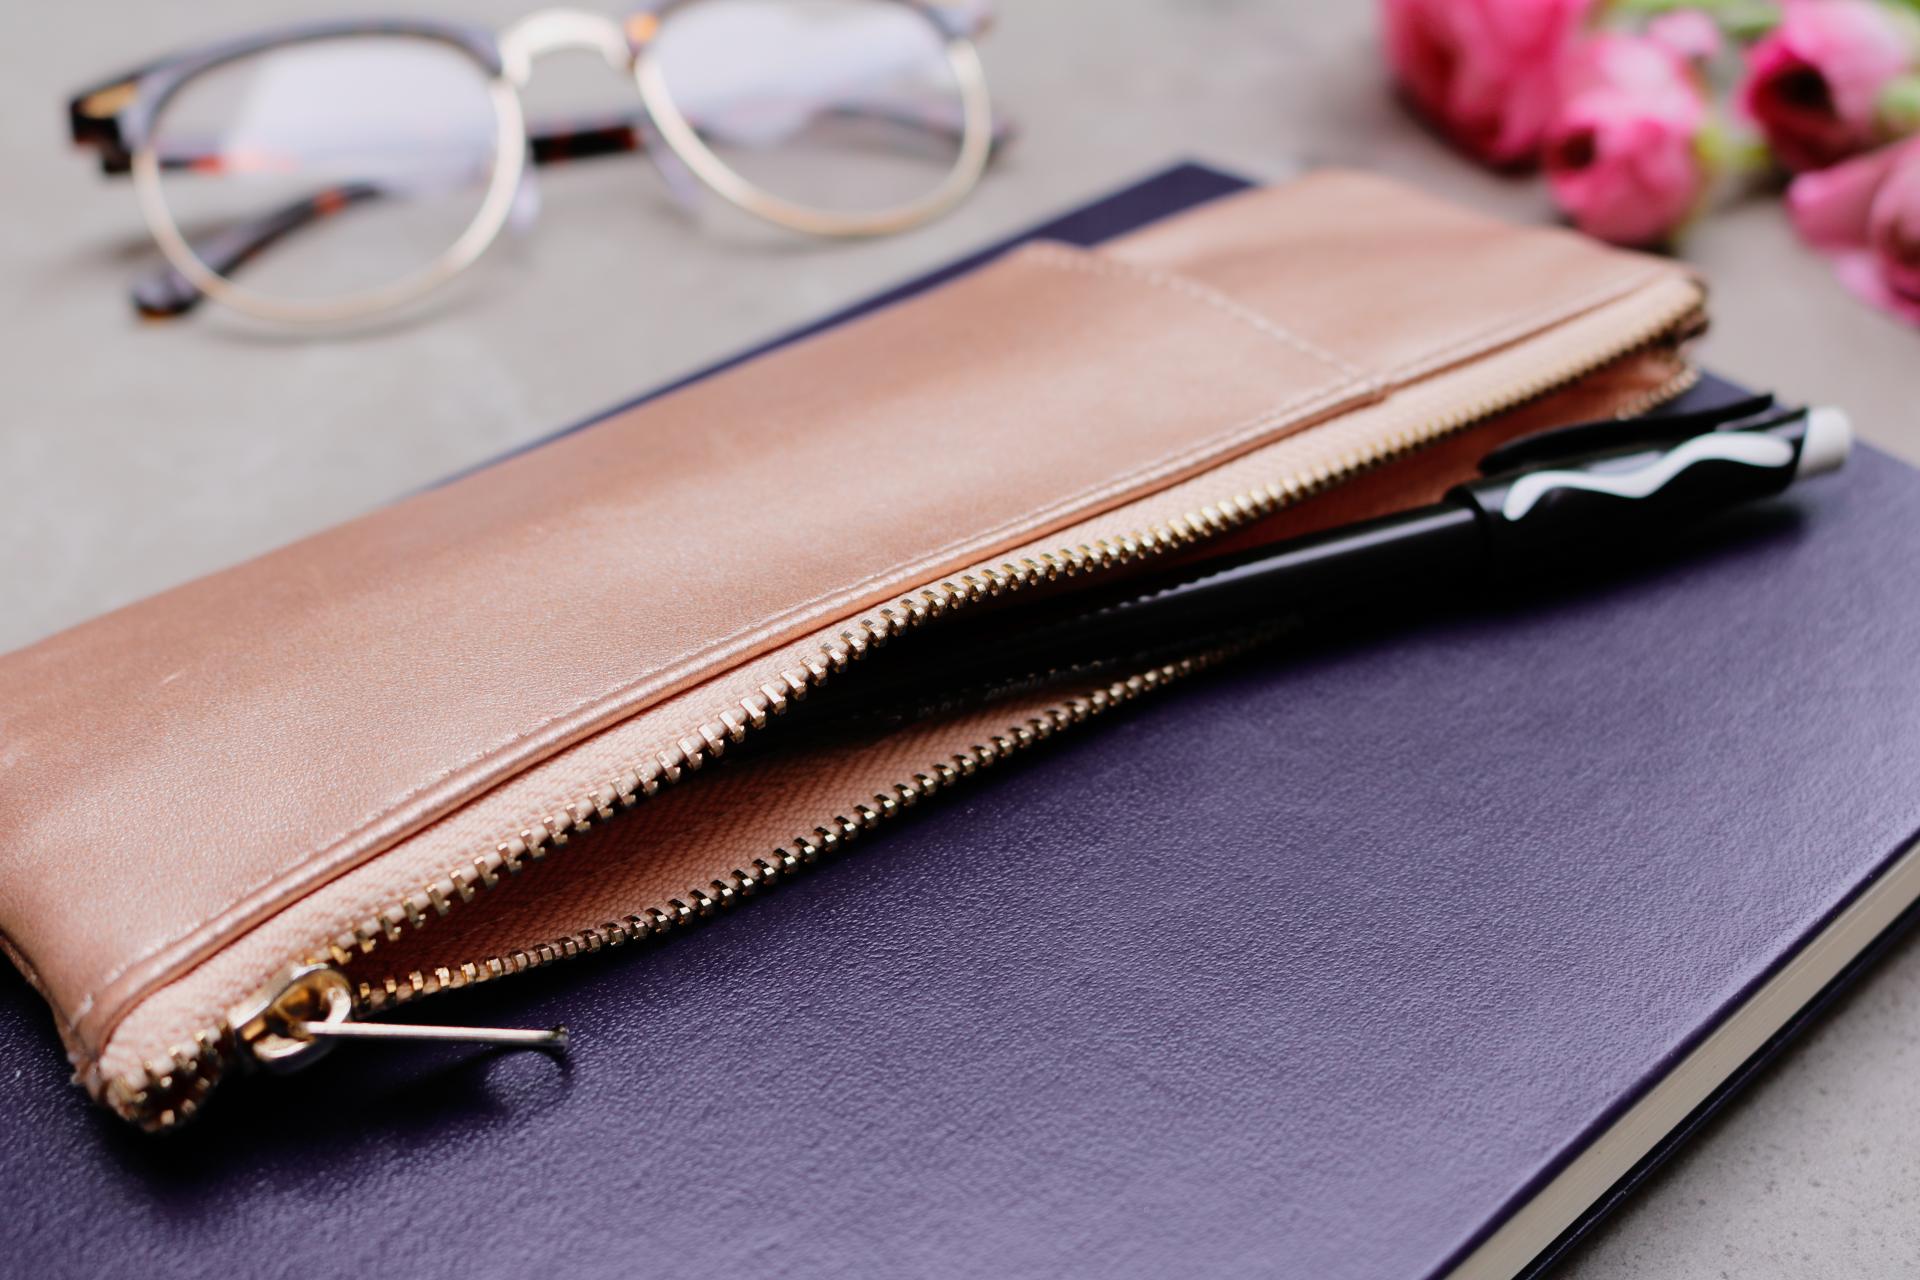
I’ve got a few essential tools that I use when I plan out my months. First up is the gorgeous rose gold pencil case. It has a zipper closure and just slides on the cover of my journal to hold all my pens! This one is similar, but I got my actual one at Michaels.
I think my spreads look ok, but I’m definitely not a pro. Sometimes I need to practice, and for that, I use either a pencil or an erasable pen. My go-to is the Papermate Erasermate. I’ll use that one especially for making any boxes, which I also use a ruler for! I actually use the clip-in ruler from my Erin Condren, but there are tons of actual rulers out there that would work, like this one. For anything scripty or that needs a thicker line, I reach for my Recollections pens. And when I’m confident in my strokes (lol) I’ll use my Micron 05 pen. Lastly, for my pops of color, I love the Yoobi highlighters. There are ten of these little mini gems and they’re so fun.
These are the pages that have worked for me, but I’d love to see pages that work for you! If you want to hear me talk through everything in more detail, check out my latest video here.
Thanks for reading!



I love seeing peoples bullet journals! I really want to start one!
Chloe X http://www.chloelxuise.com
Author
You totally should Chloe!
This looks incredible! I’ve always wanted to try bullet journaling but I don’t think I would keep up with it or have the artistic ability! I love looking at bujo inspiration on instagram! So dreamy
https://www.reallifewander.com/blog/2018/1/26/lush-favorites
Author
You should try it, just to see how it goes! You can make it as simple or as artistic as you like (mine is certainly pretty plain). Plus, you can find cheap gridded journals so you don’t have to invest a lot if you’re not sure you’ll keep it up!
I’m obsessed with your glasses! And this is such a cute idea…I love the way yours looks!!
-Kate // http://www.classyandkate.com/how-i-read-50-books-in-one-summer-and-2018-list/
Author
Aw thanks so much Kate! I’ve found my journal so helpful.
Great post.
xx
https://theonethattravels.wordpress.com/
Author
Thanks for reading!
Nice Post – I love the idea of bullet journals but it seems like so much work to keep updated. Do you find it difficult to keep up with it?
http://www.forkandveg.com
Author
Thank you!! I think it depends on how much work you want to put into it. I’m not very artistic, so I keep mine pretty bare bones. I’ll usually spend about two hours once every three months setting things up, and then about an hour at the end of each month recording stats and planning. I find that manageable, but it depends on your schedule!