Ingredients:
For the cupcakes:
- 1/2 cup strawberries, pureed
- 1/2 cup dry champagne
- 1 1/2 cup all-purpose flour
- 1 1/2 tsp baking powder
- big pinch of salt
- 1 cup granulated sugar
- 1/2 cup unsalted butter, softened to room temperature
- 3 egg whites
For the frosting:
- 3/4 cup dry champagne
- 1 cup unsalted butter, softened to room temperature
- 4 cups powdered sugar
- 1 tsp vanilla extract
- pinch salt
- red food coloring
For the decorations:
- White fondant (I used the Wilton brand)
- Red food coloring
- Red gel food coloring in decorator’s tube (like this one)
Directions:
For the cupcakes:
- Preheat your oven to 350 degrees F and line your mini muffin pan(s) with liners
- Get out two bowls and the bowl of your mixer. In the first bowl, mix the 1/2 cup of champagne and the pureed strawberries.
- In the second bowl, mix together your flour, baking powder, and salt.
- In the bowl of your mixer, mix the butter and the granulated sugar until combined and light-looking.
- Add the egg whites one at a time, combining well after each addition.
- Alternate adding the strawberry/champagne mixture with the dry mixture, making sure to scrape down the edges occasionally.
- Add a heaping 1/2 tablespoon to each liner (about 3/4 the way full).
- Bake for 13-15 minutes. They will be done when your cake bounces back when pressed softly. * (see note below in frosting directions!)
- Allow to cool completely.
For the frosting:
- Add the 3/4 cup of champagne to a small pot and bring to a boil. Once boiling, reduce the heat and simmer for about 8 minutes or until you’ve got about 1/4 cup liquid left. Allow to cool completely before you go any further! *I actually suggest doing this while you bake your cupcakes.
- Cream the butter until light and fluffy, and then add the powdered sugar one cup at a time.
- Add the vanilla extract and the reduced champagne, a little at first, and then eyeball for consistency. For reference, I used a little less than the 1/4 cup.
- Divide the frosting in half, leaving half in the mixer and transferring half to a piping bag.
- For the frosting still in the mixer, add red food coloring until you reach the desired hue, and then add that to a separate piping bag.
For the decorations:
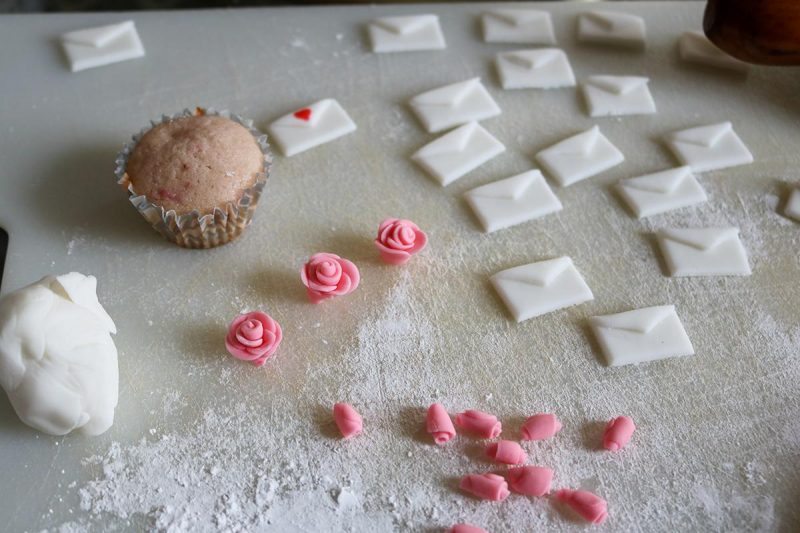
- For the envelopes, roll out a sheet of fondant not paper-thin, but also not chunky (sorry I didn’t have a ruler when I did this!).
- Cut into rectangles. Mine are a little less than an inch long and a little more than a half an inch tall. Cut more rectangles than you need, because the extra will be used for the flaps.
- To make the flaps, cut the envelopes from edge to diagonal edge twice, making an “x” across the rectangle. The pieces at the top and bottom are perfect for envelope flaps.
- To adhere the flaps onto the envelopes, wet them slightly with water and then press them on. Allow to dry.
- For the hearts, press two small dots of the red icing side by side, and then use a toothpick to drag the point out and connect it all.
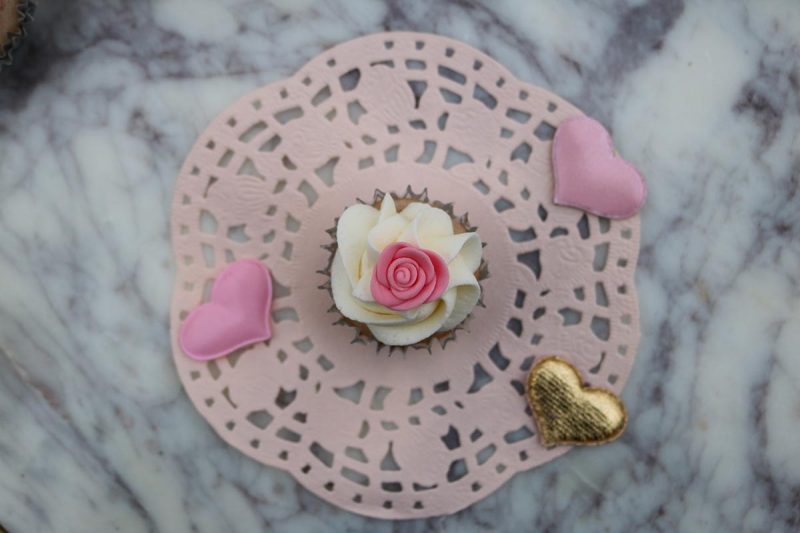
- For the roses, dye some of your fondant pink with red food coloring. I used the gel kind that’s more concentrated.
- Using powdered sugar to keep the fondant from sticking to your fingers, roll out a small ball of the fondant into a spiral. This will be the inside of your rose.
- For the petals, roll about 5 little balls of fondant out pre-prepared. Mine were about the size of half a raisin, for reference. Pinch each ball into a circle and wrap around the outside of the spiral, overlapping as you go. You can go for as many or as few petals as you like- just stop when it looks symmetrical.
- Allow all fondant decorations to dry a bit so they’re no longer sticky.
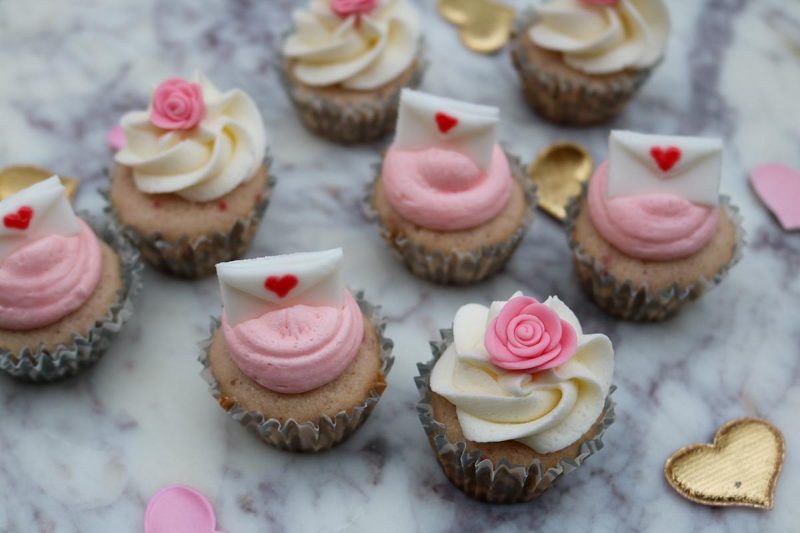
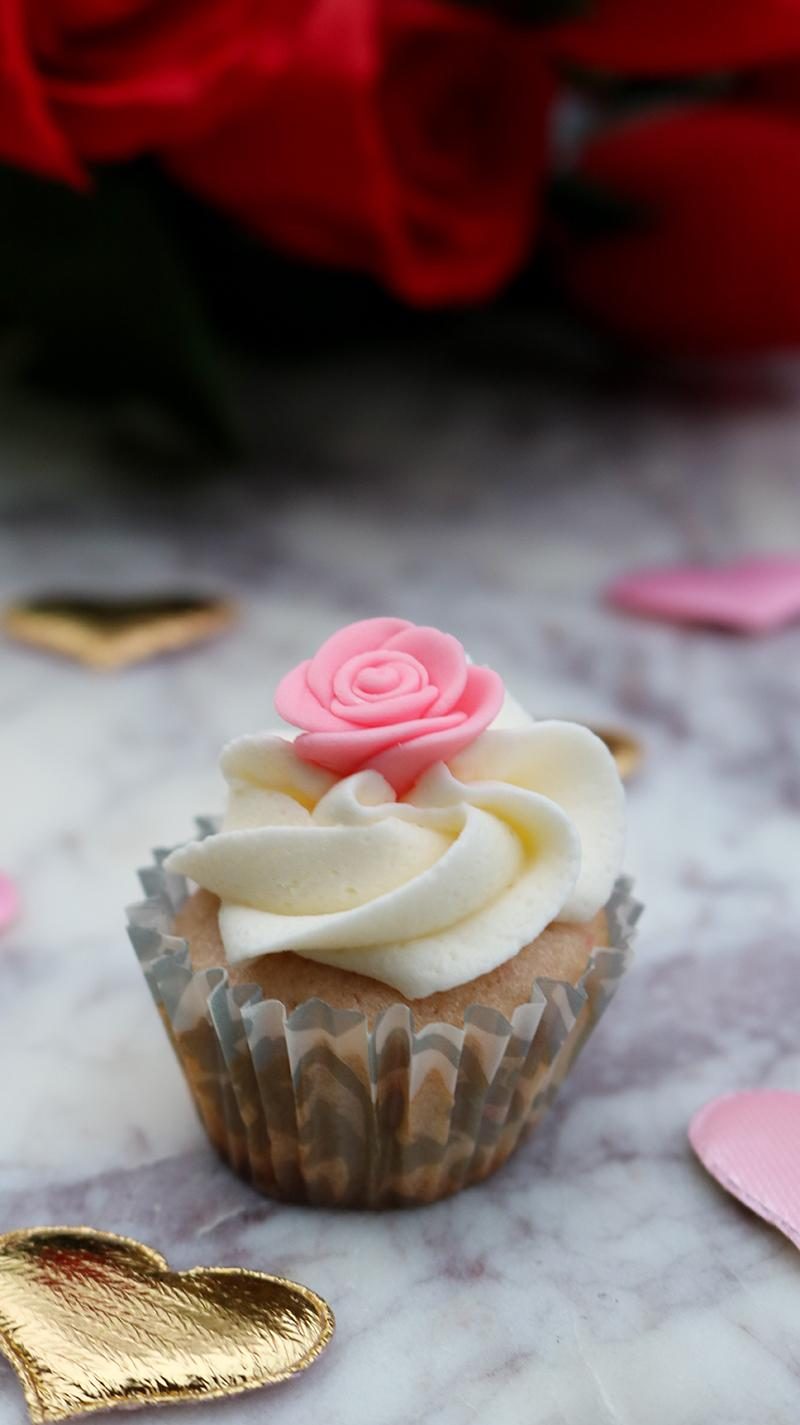
- Apply your decorations to the cupcakes! I decided to put the envelopes with the pink frosting and the roses with the white, but you do you!
Hello all, and Happy Valentine’s Day! Looking back, I’ve written about makeup, nails, festive cards, and even treats for your dog for the holiday, but I haven’t ever written about treating YOSELF with some sugar! It’s about time for that to change, don’t you think?
At my office this week, we’re having a Valentine’s Day treat swap, and these little beauties are what I decided to bring. They’re small and approachable, but still fun and delicious. Not to mention adorable. I mean, those little envelopes?!? So Kawaii, I can’t even.
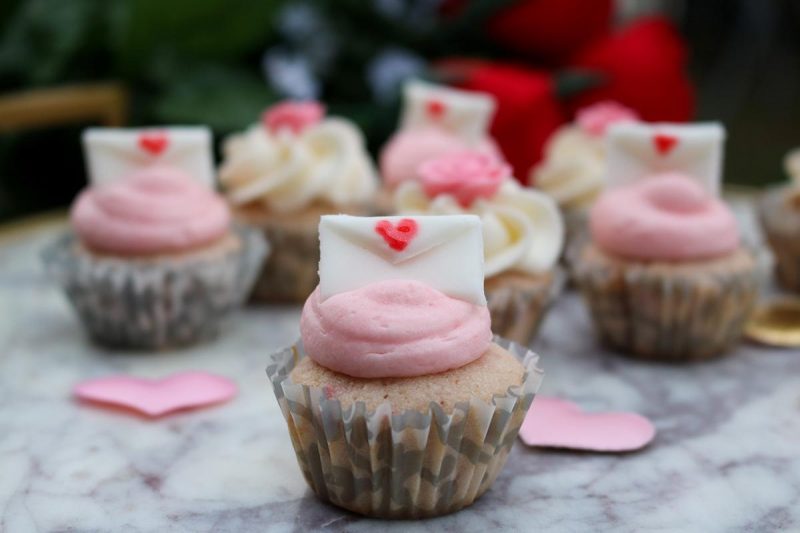
Originally when I planned to make these, I was envisioning red heart sprinkles on the envelopes, but THREE stores later I was looking for plan b. I’m happy with the way they turned out, but am still a little butthurt that not even SUR LA TABLE sold heart sprinkles at Valentine’s Day. (They’re forgiven though because the guy working behind the counter was SO nice and gave Luna a treat so now he’s her close friend ❤️)
On a quick personal note, I’ve loved making these little roses since I was about 12. At about that age, we took a family trip to the UK and had the pleasure of visiting the Belleek China factory in Ireland. I watched one of their artisans make a rose out of clay and apply it to a basket, and I’ve been trying to copy it ever since! While I will never ever claim to be on the same level as a Belleek artisan, I think these little roses turned out pretty nicely. If they’re giving you a hard time though, don’t worry- the envelopes are SO cute and much easier.
Happy Valentine’s Day to you all, whether you’re celebrating with a loved one, a friend, alone, your dog, or not at all. There’s still love coming from me to you, whether you like it or not. ❤️❤️❤️


