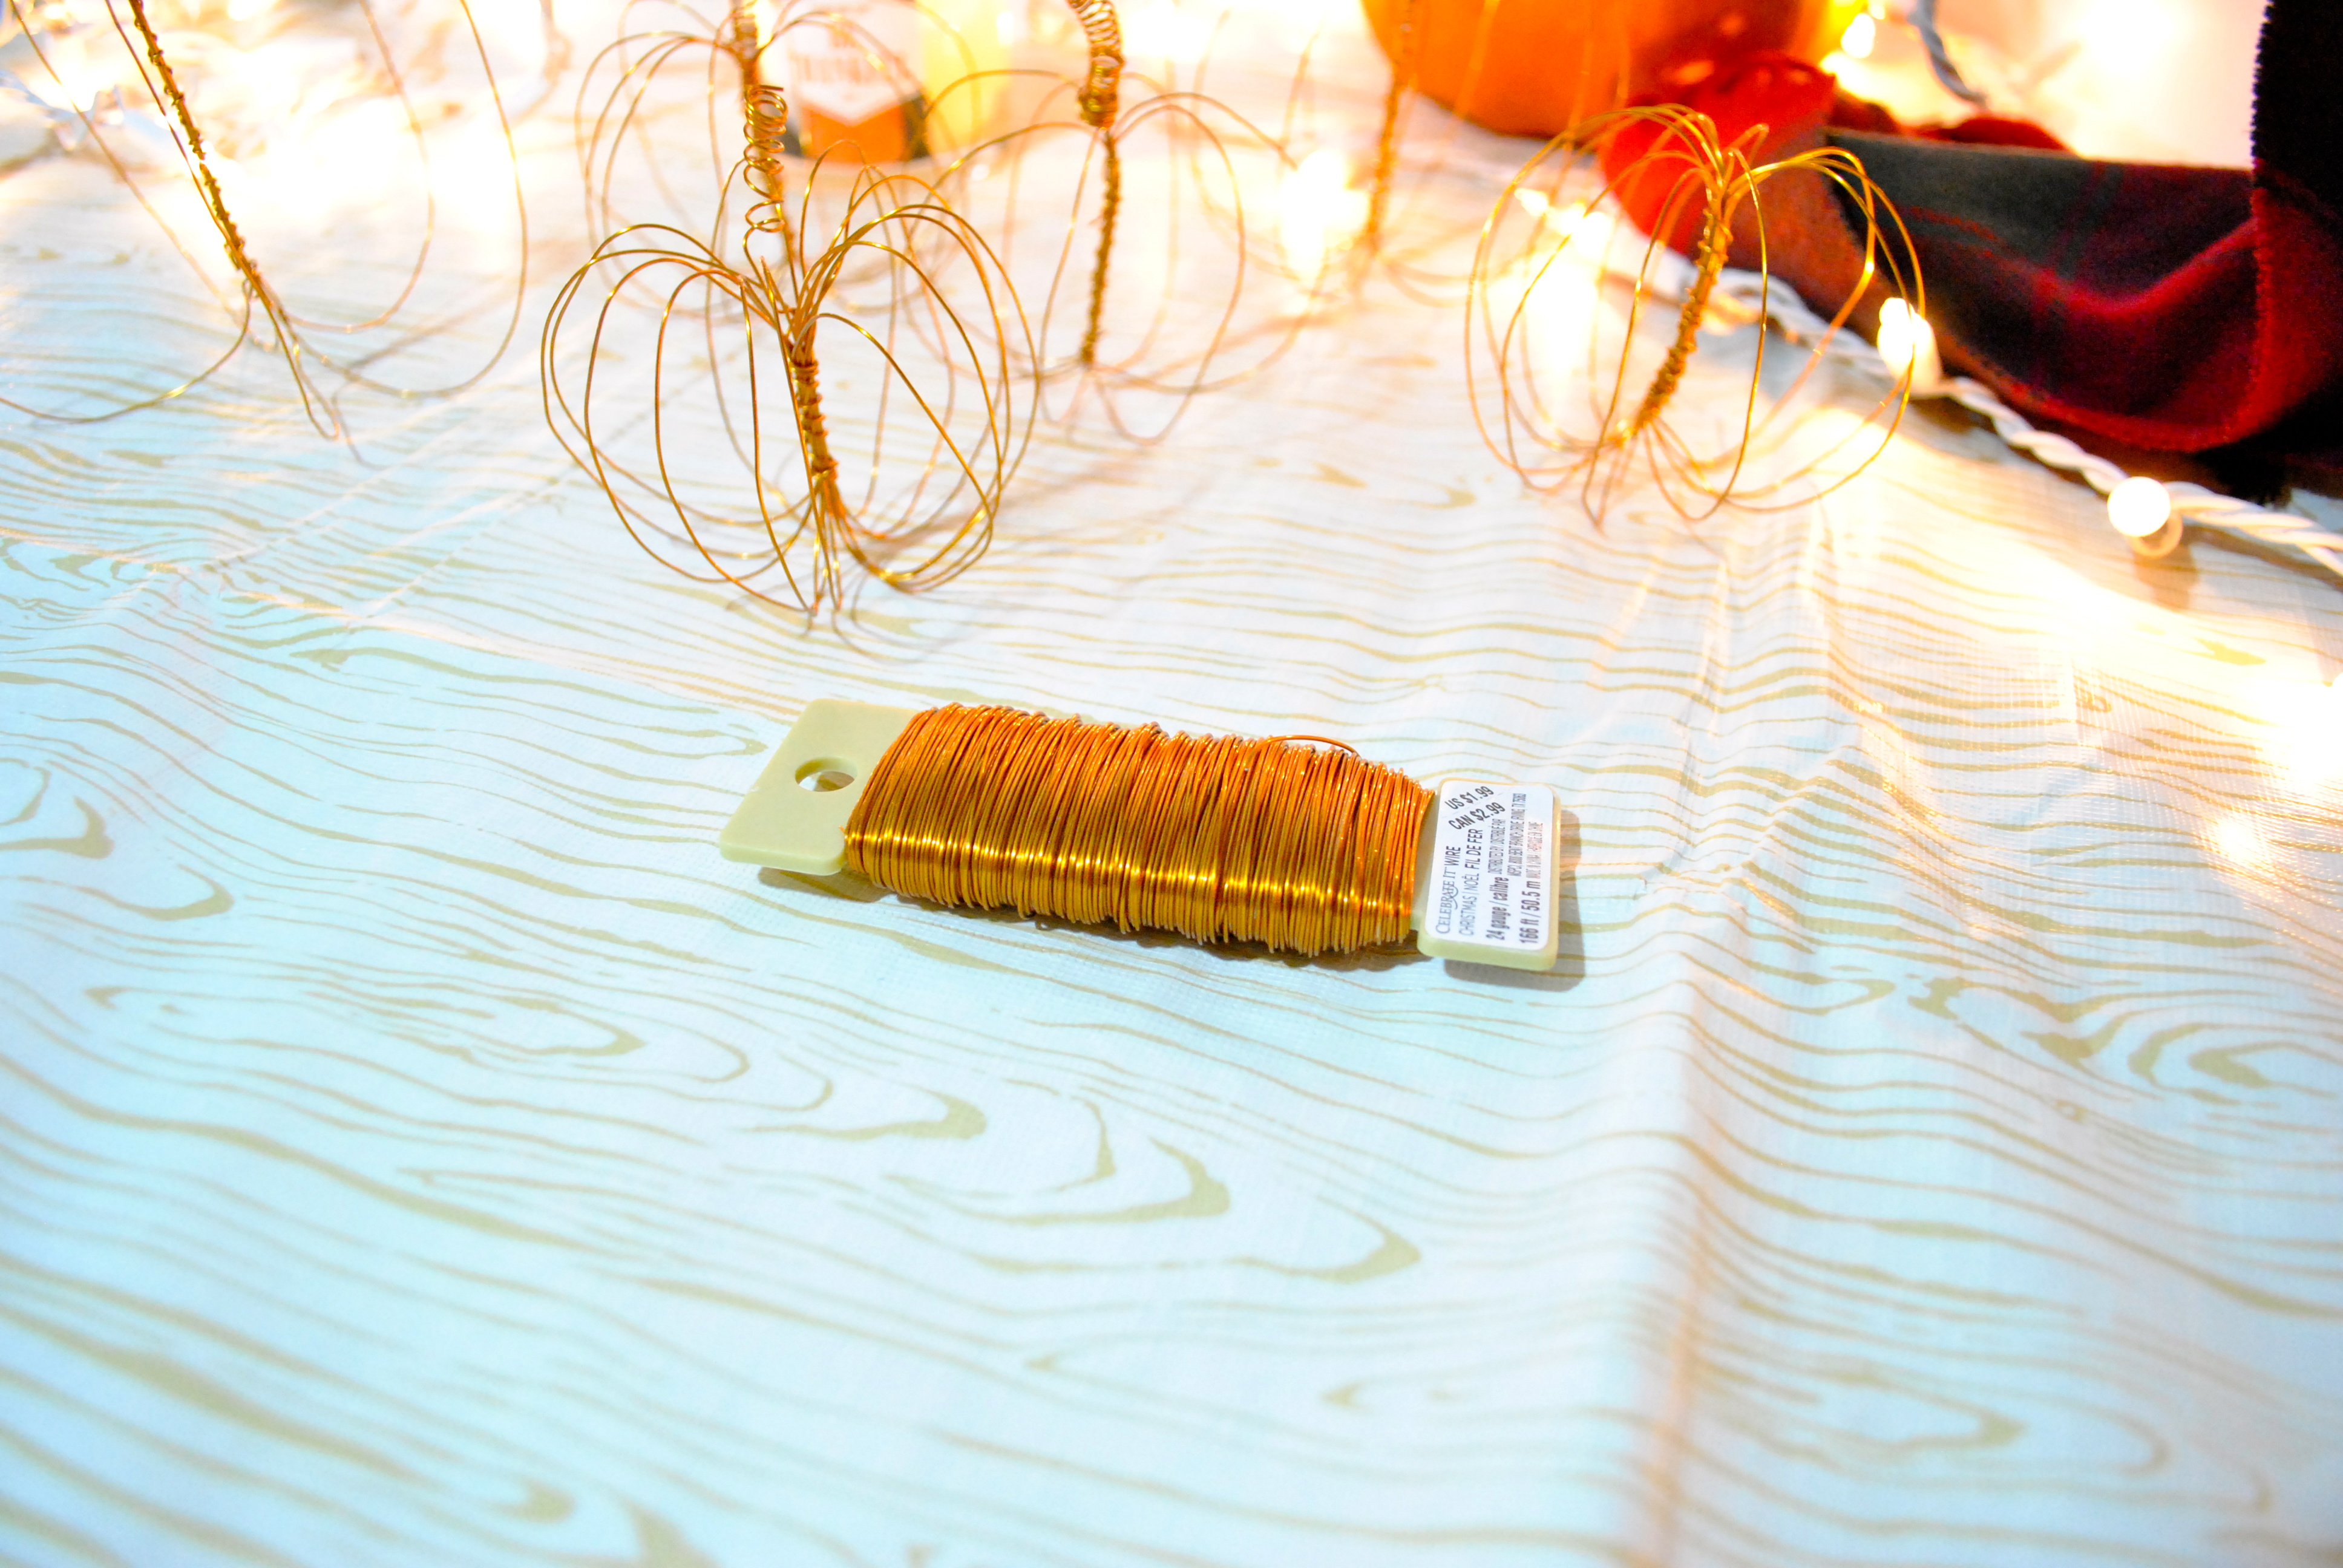
One of my favorite things to do when the seasons change is bring out some fresh home decor, but I realized I don’t have much in the way of Fall decorations! I’m on a bit of a budget, though, so I thought I would go the DIY route. In a craft store the other day, I saw a roll of floral wire for $1.99 and an idea sprung into my head- DIY wire pumpkins!
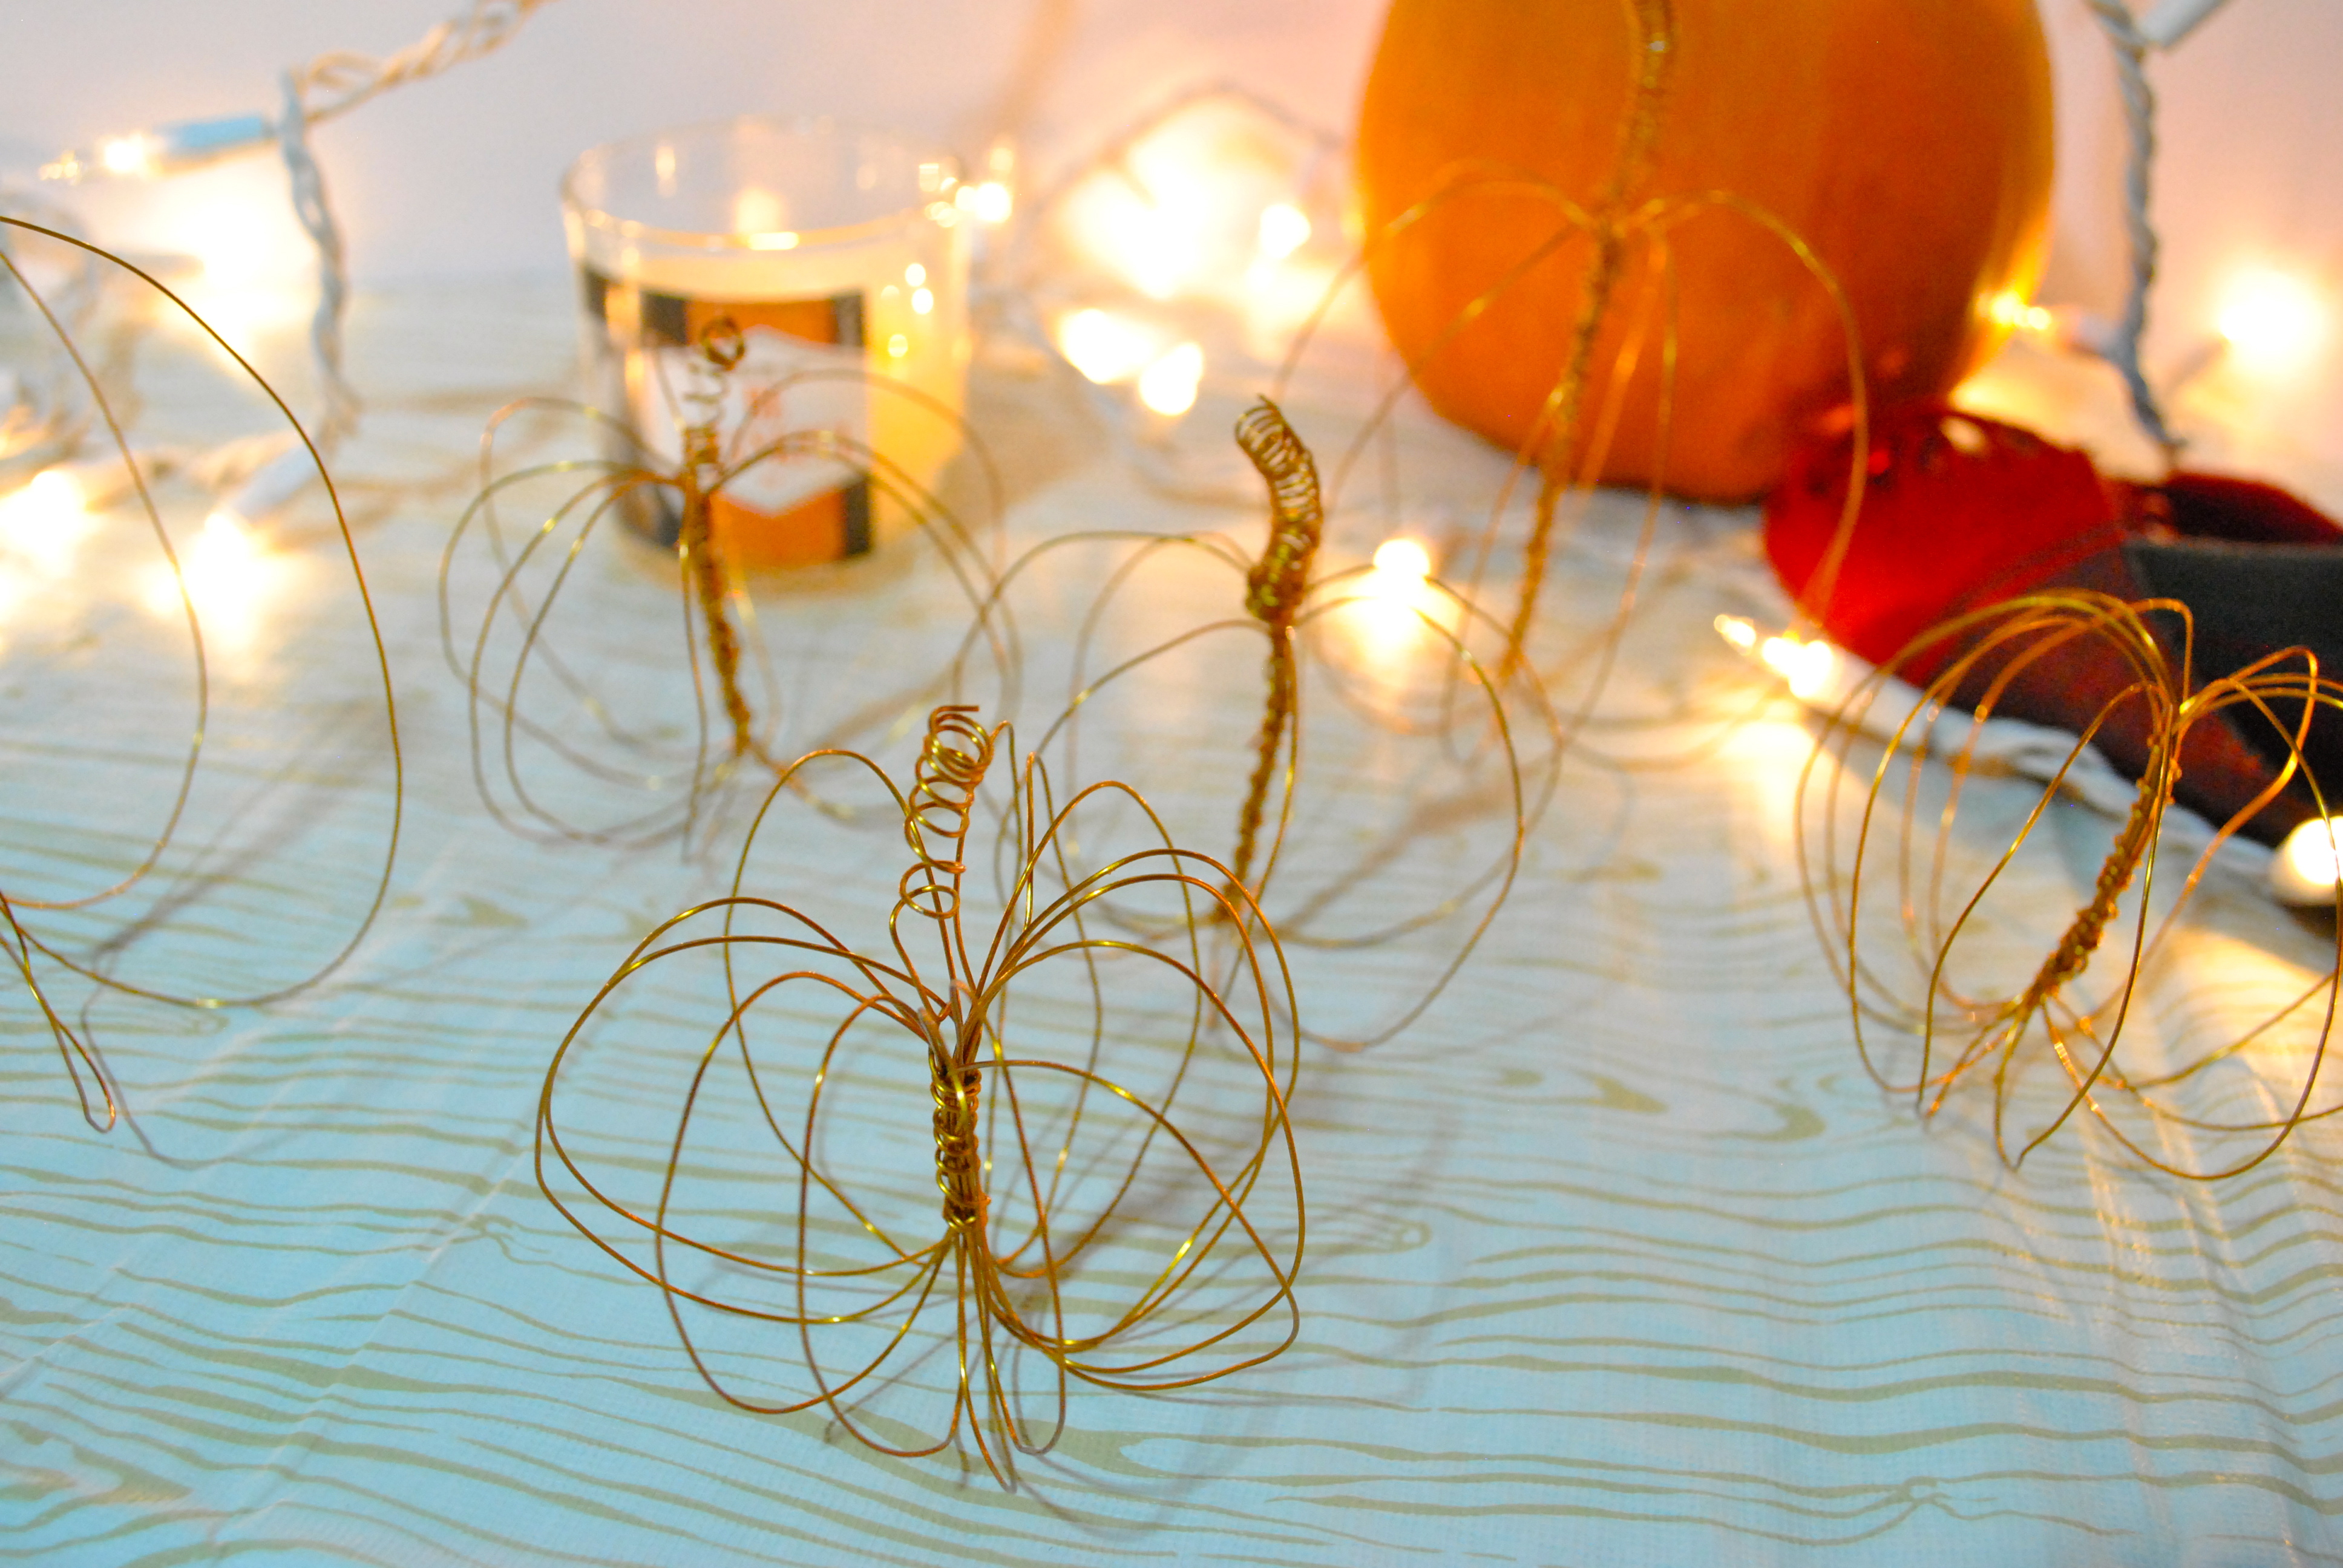
These cute little pumpkins are SO easy to make- I’m talking less than five minutes- and cheap as chips! I made around six of varying sizes and barely put a dent in the wire.
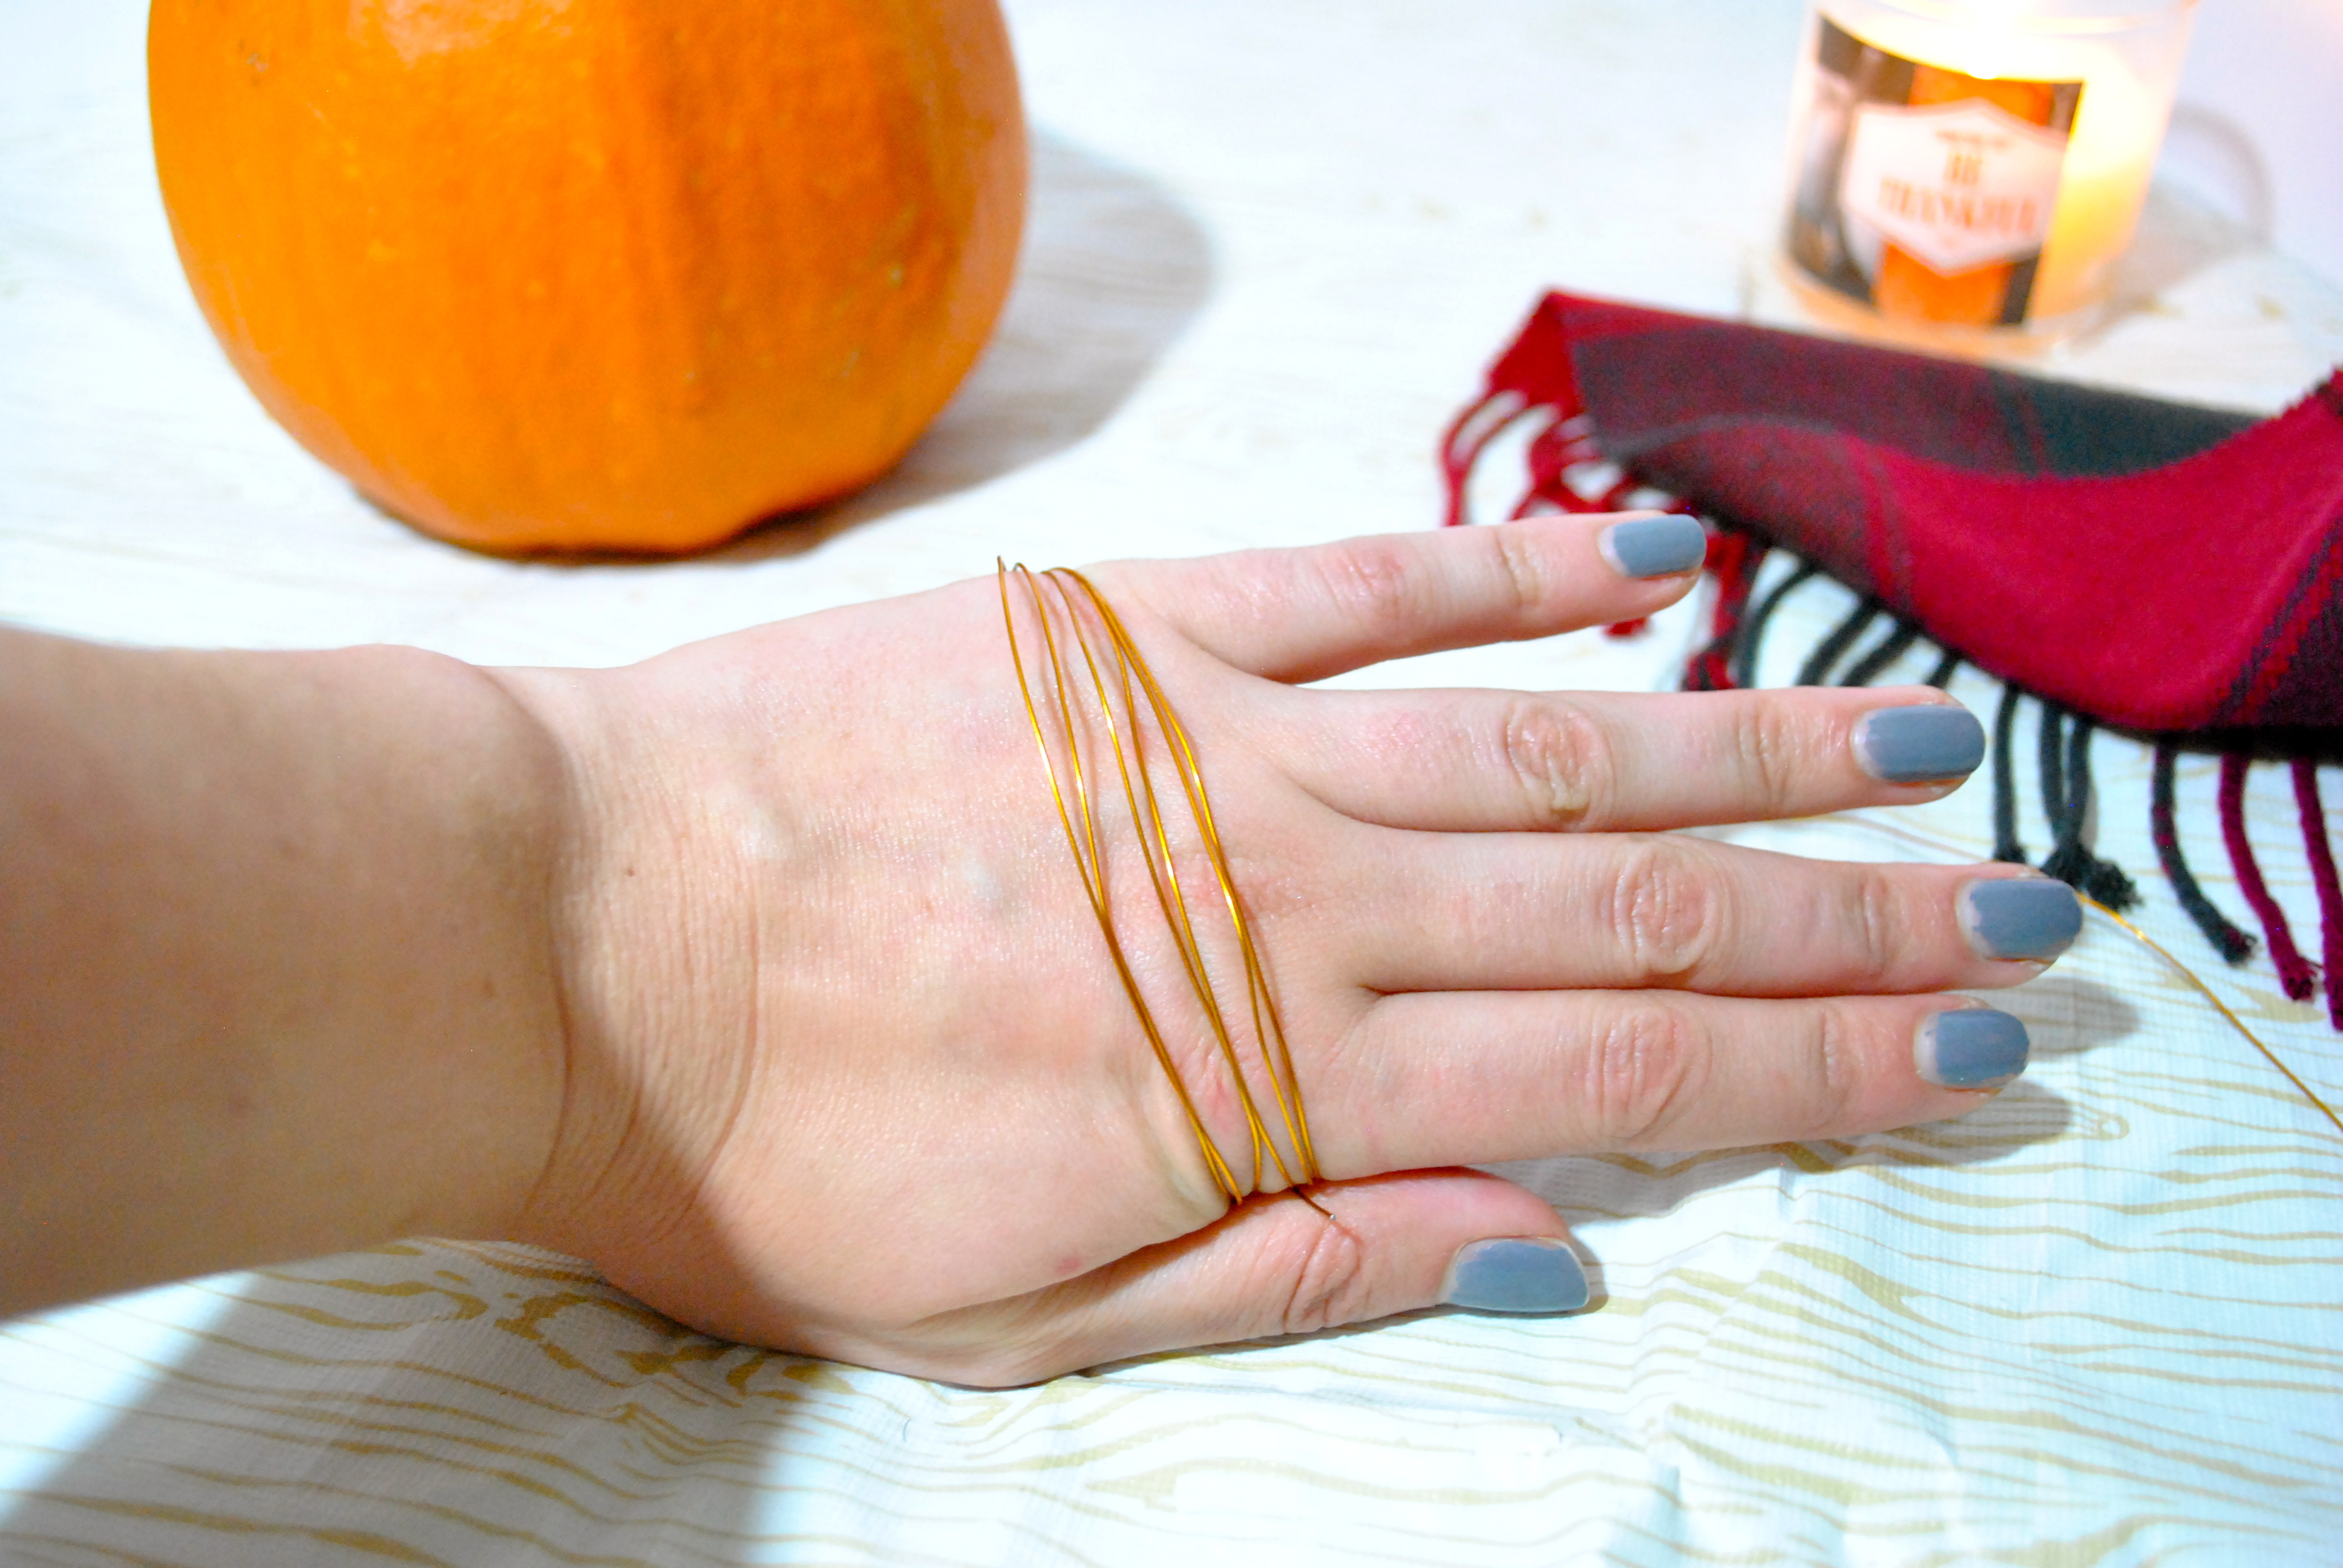
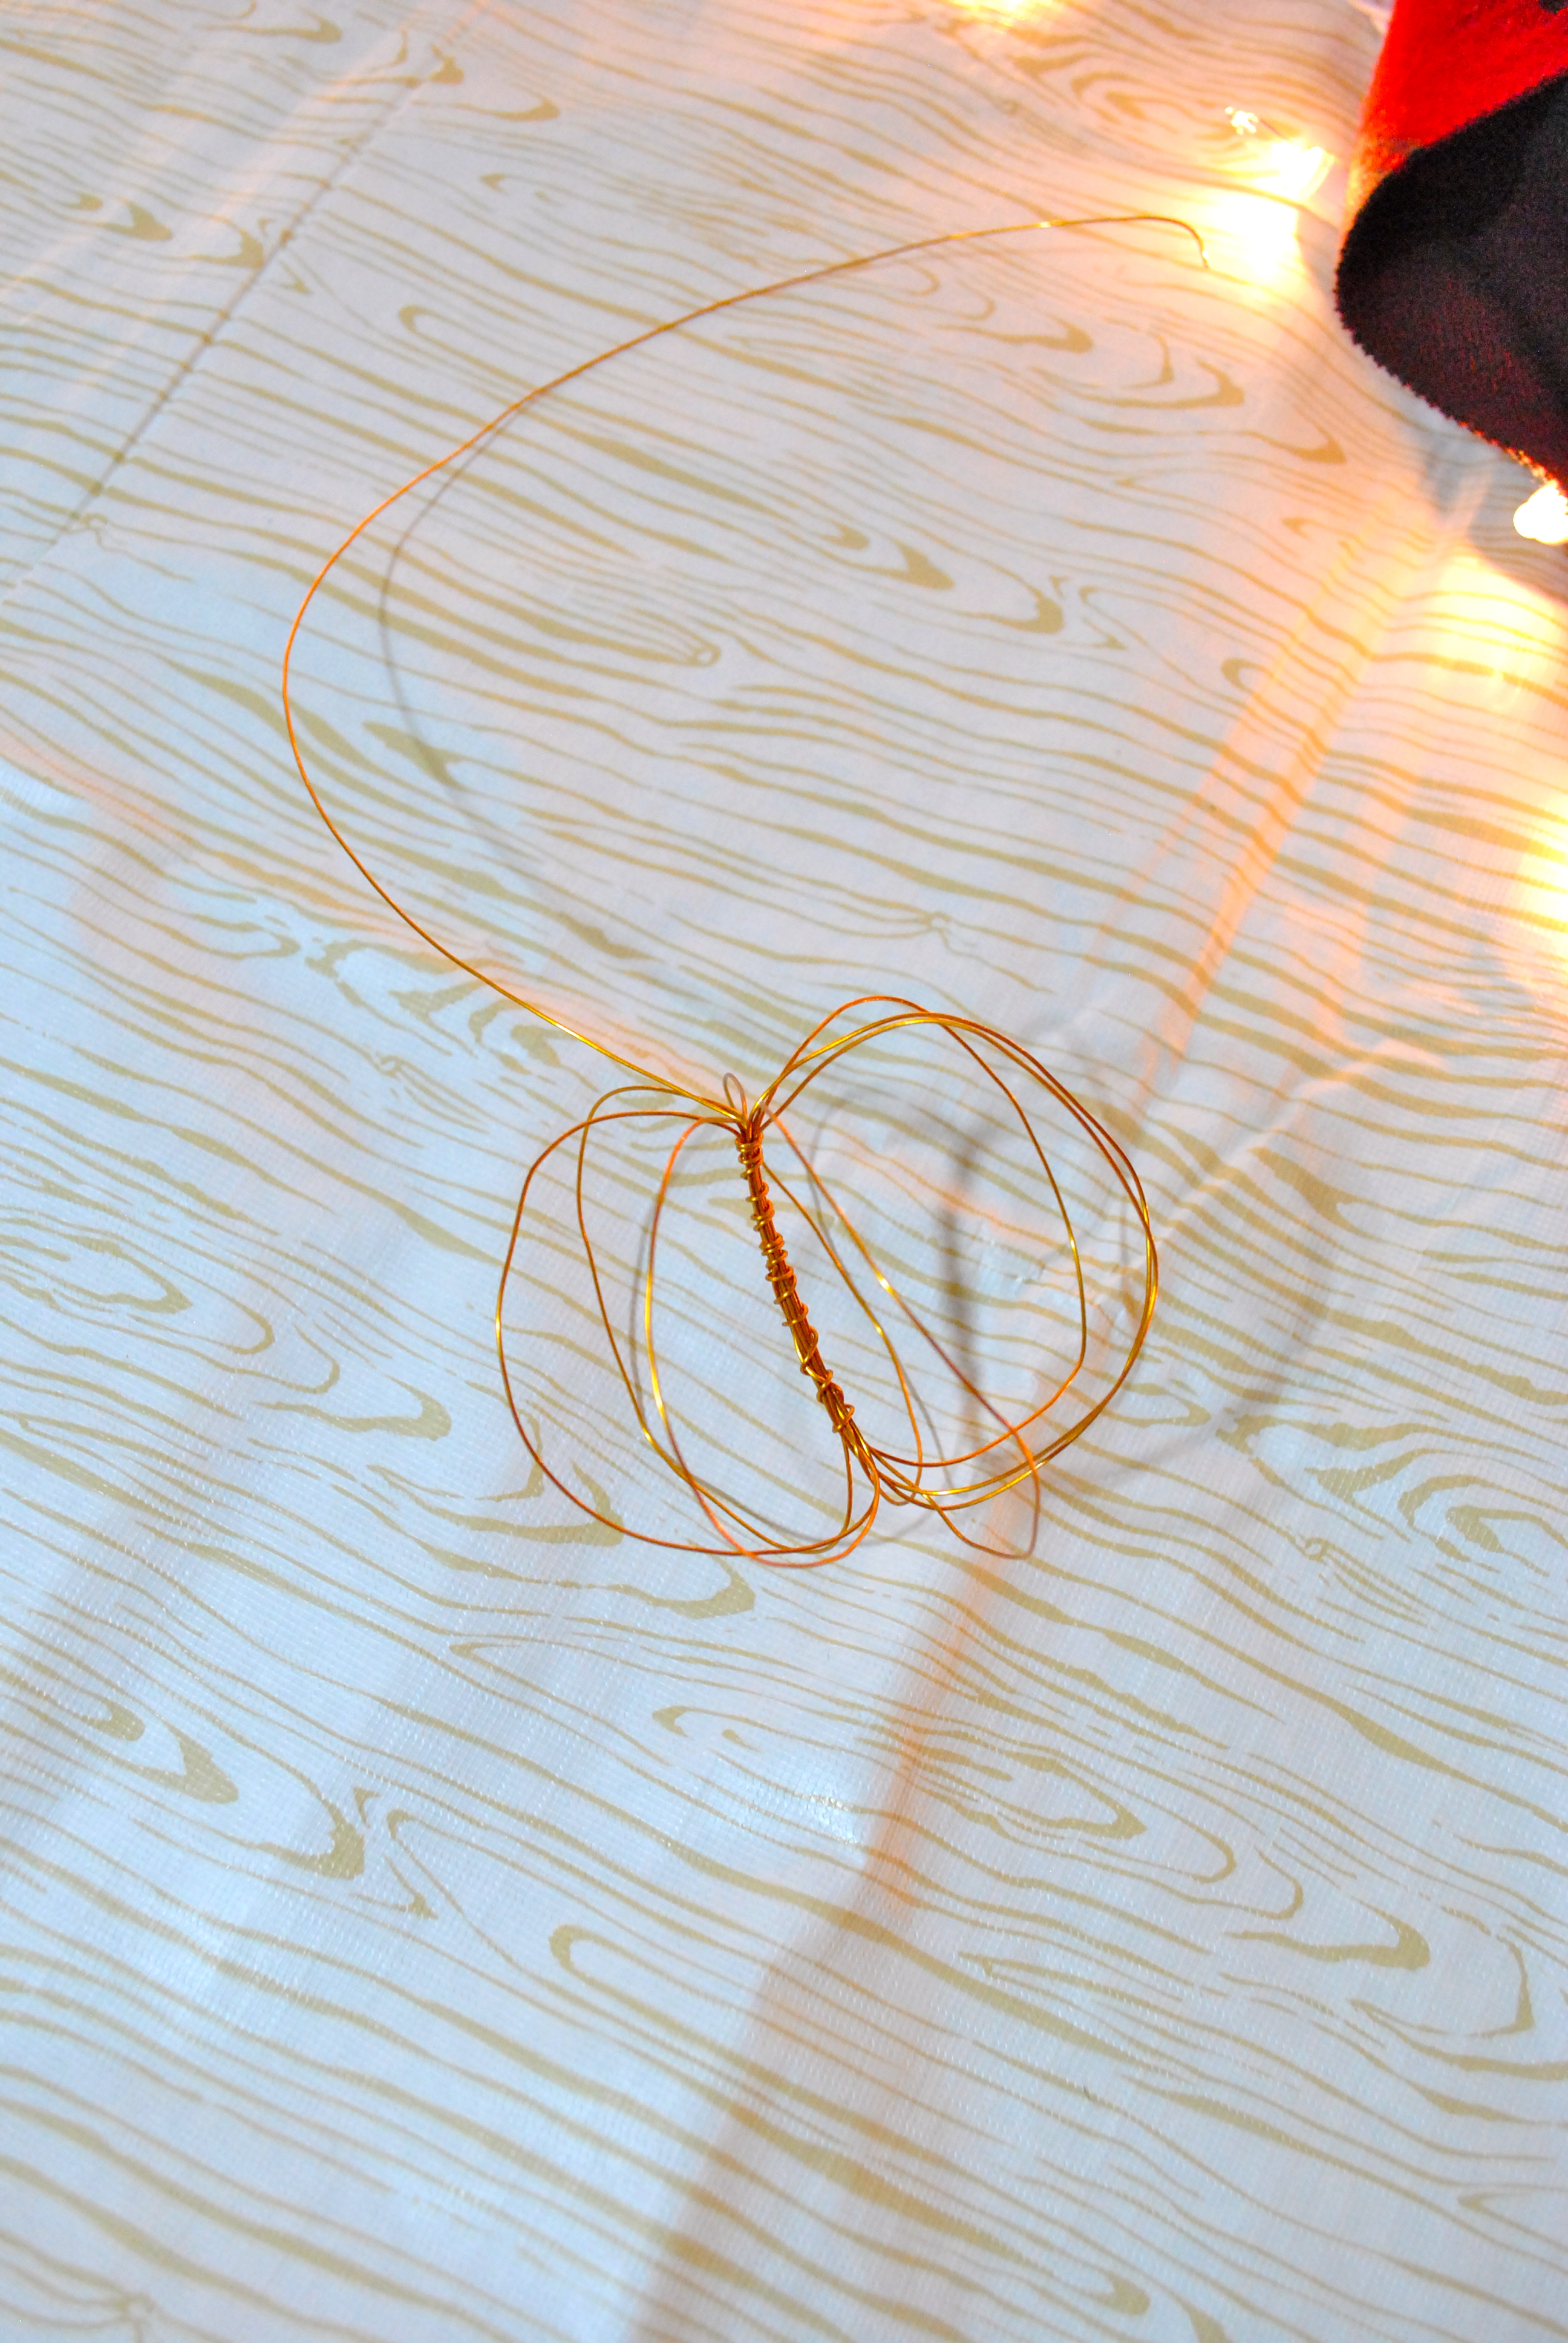
To start off, wrap the wire around your hand (or a bottle or anything you want really) as many times as you want. I found that the pumpkins looked better with more loops, and the pumpkins I felt turned out the best had 10-12 loops each.
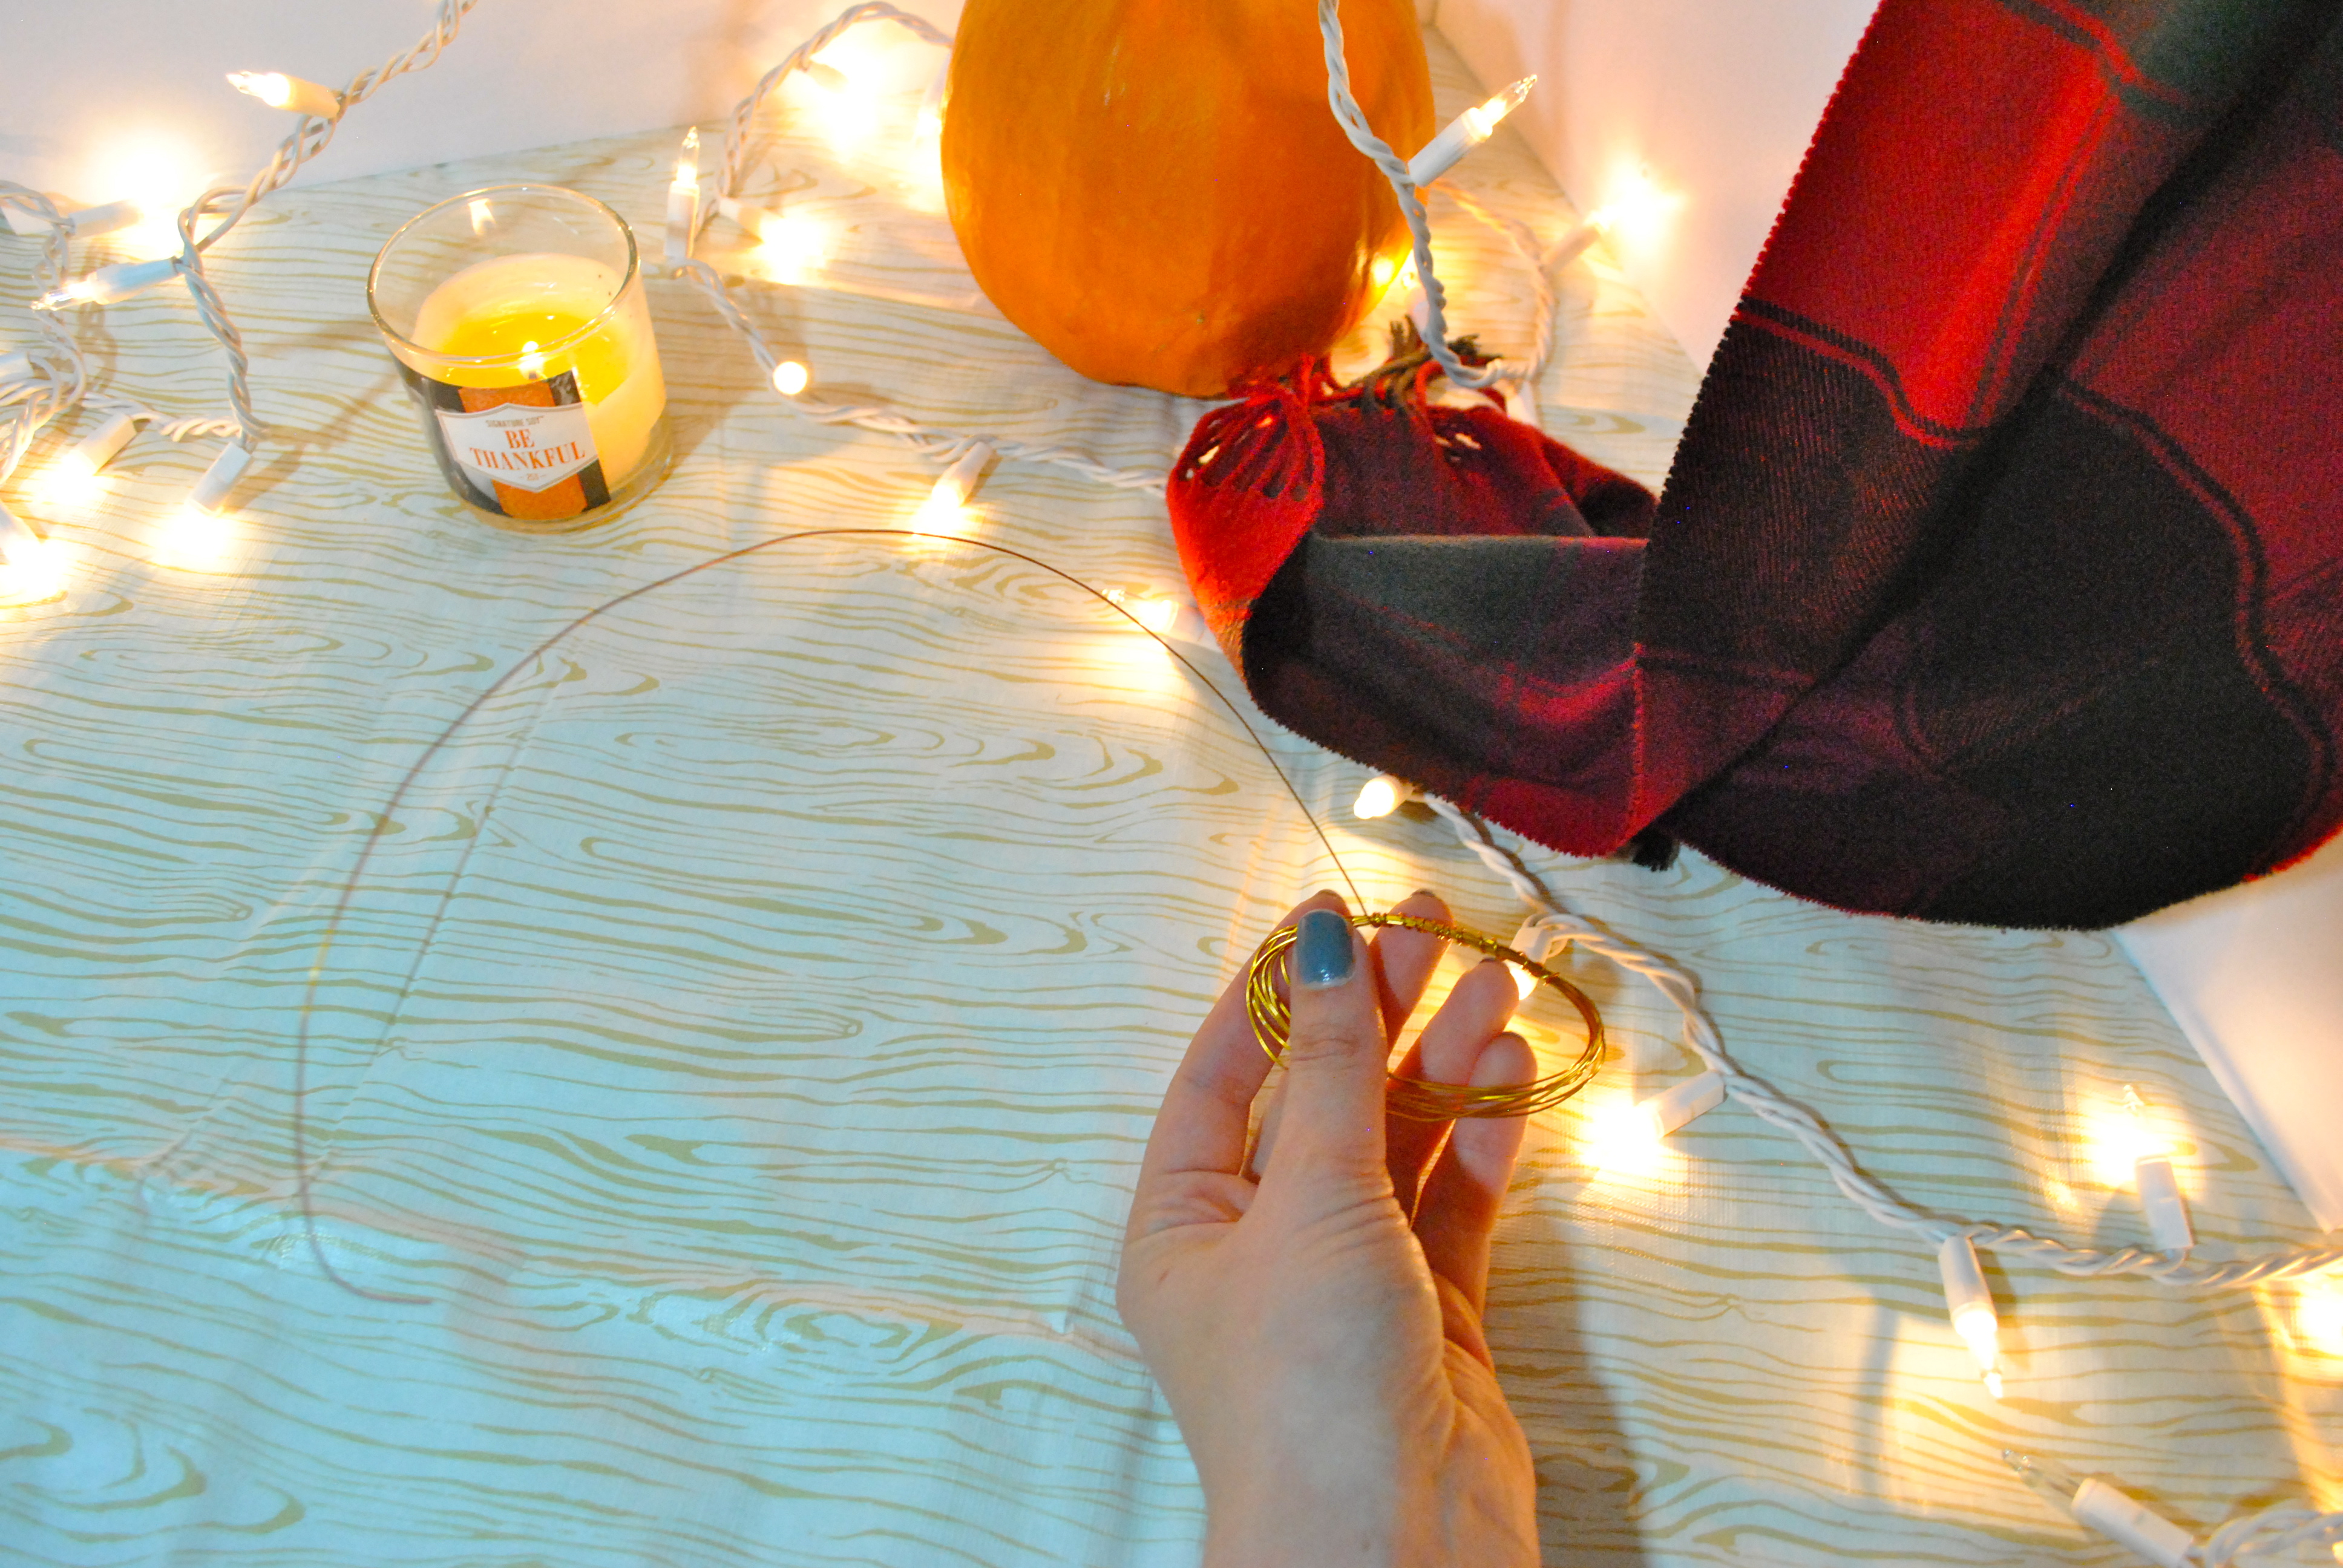
Make sure you leave about a foot and a half or so of wire un-wrapped before you cut it from the roll. Next, take some of that leftover wire and wrap it around one side of your loops. This will be the center of the pumpkin. Again, make sure you leave a little bit of wire out, because we will be making the stem with this.
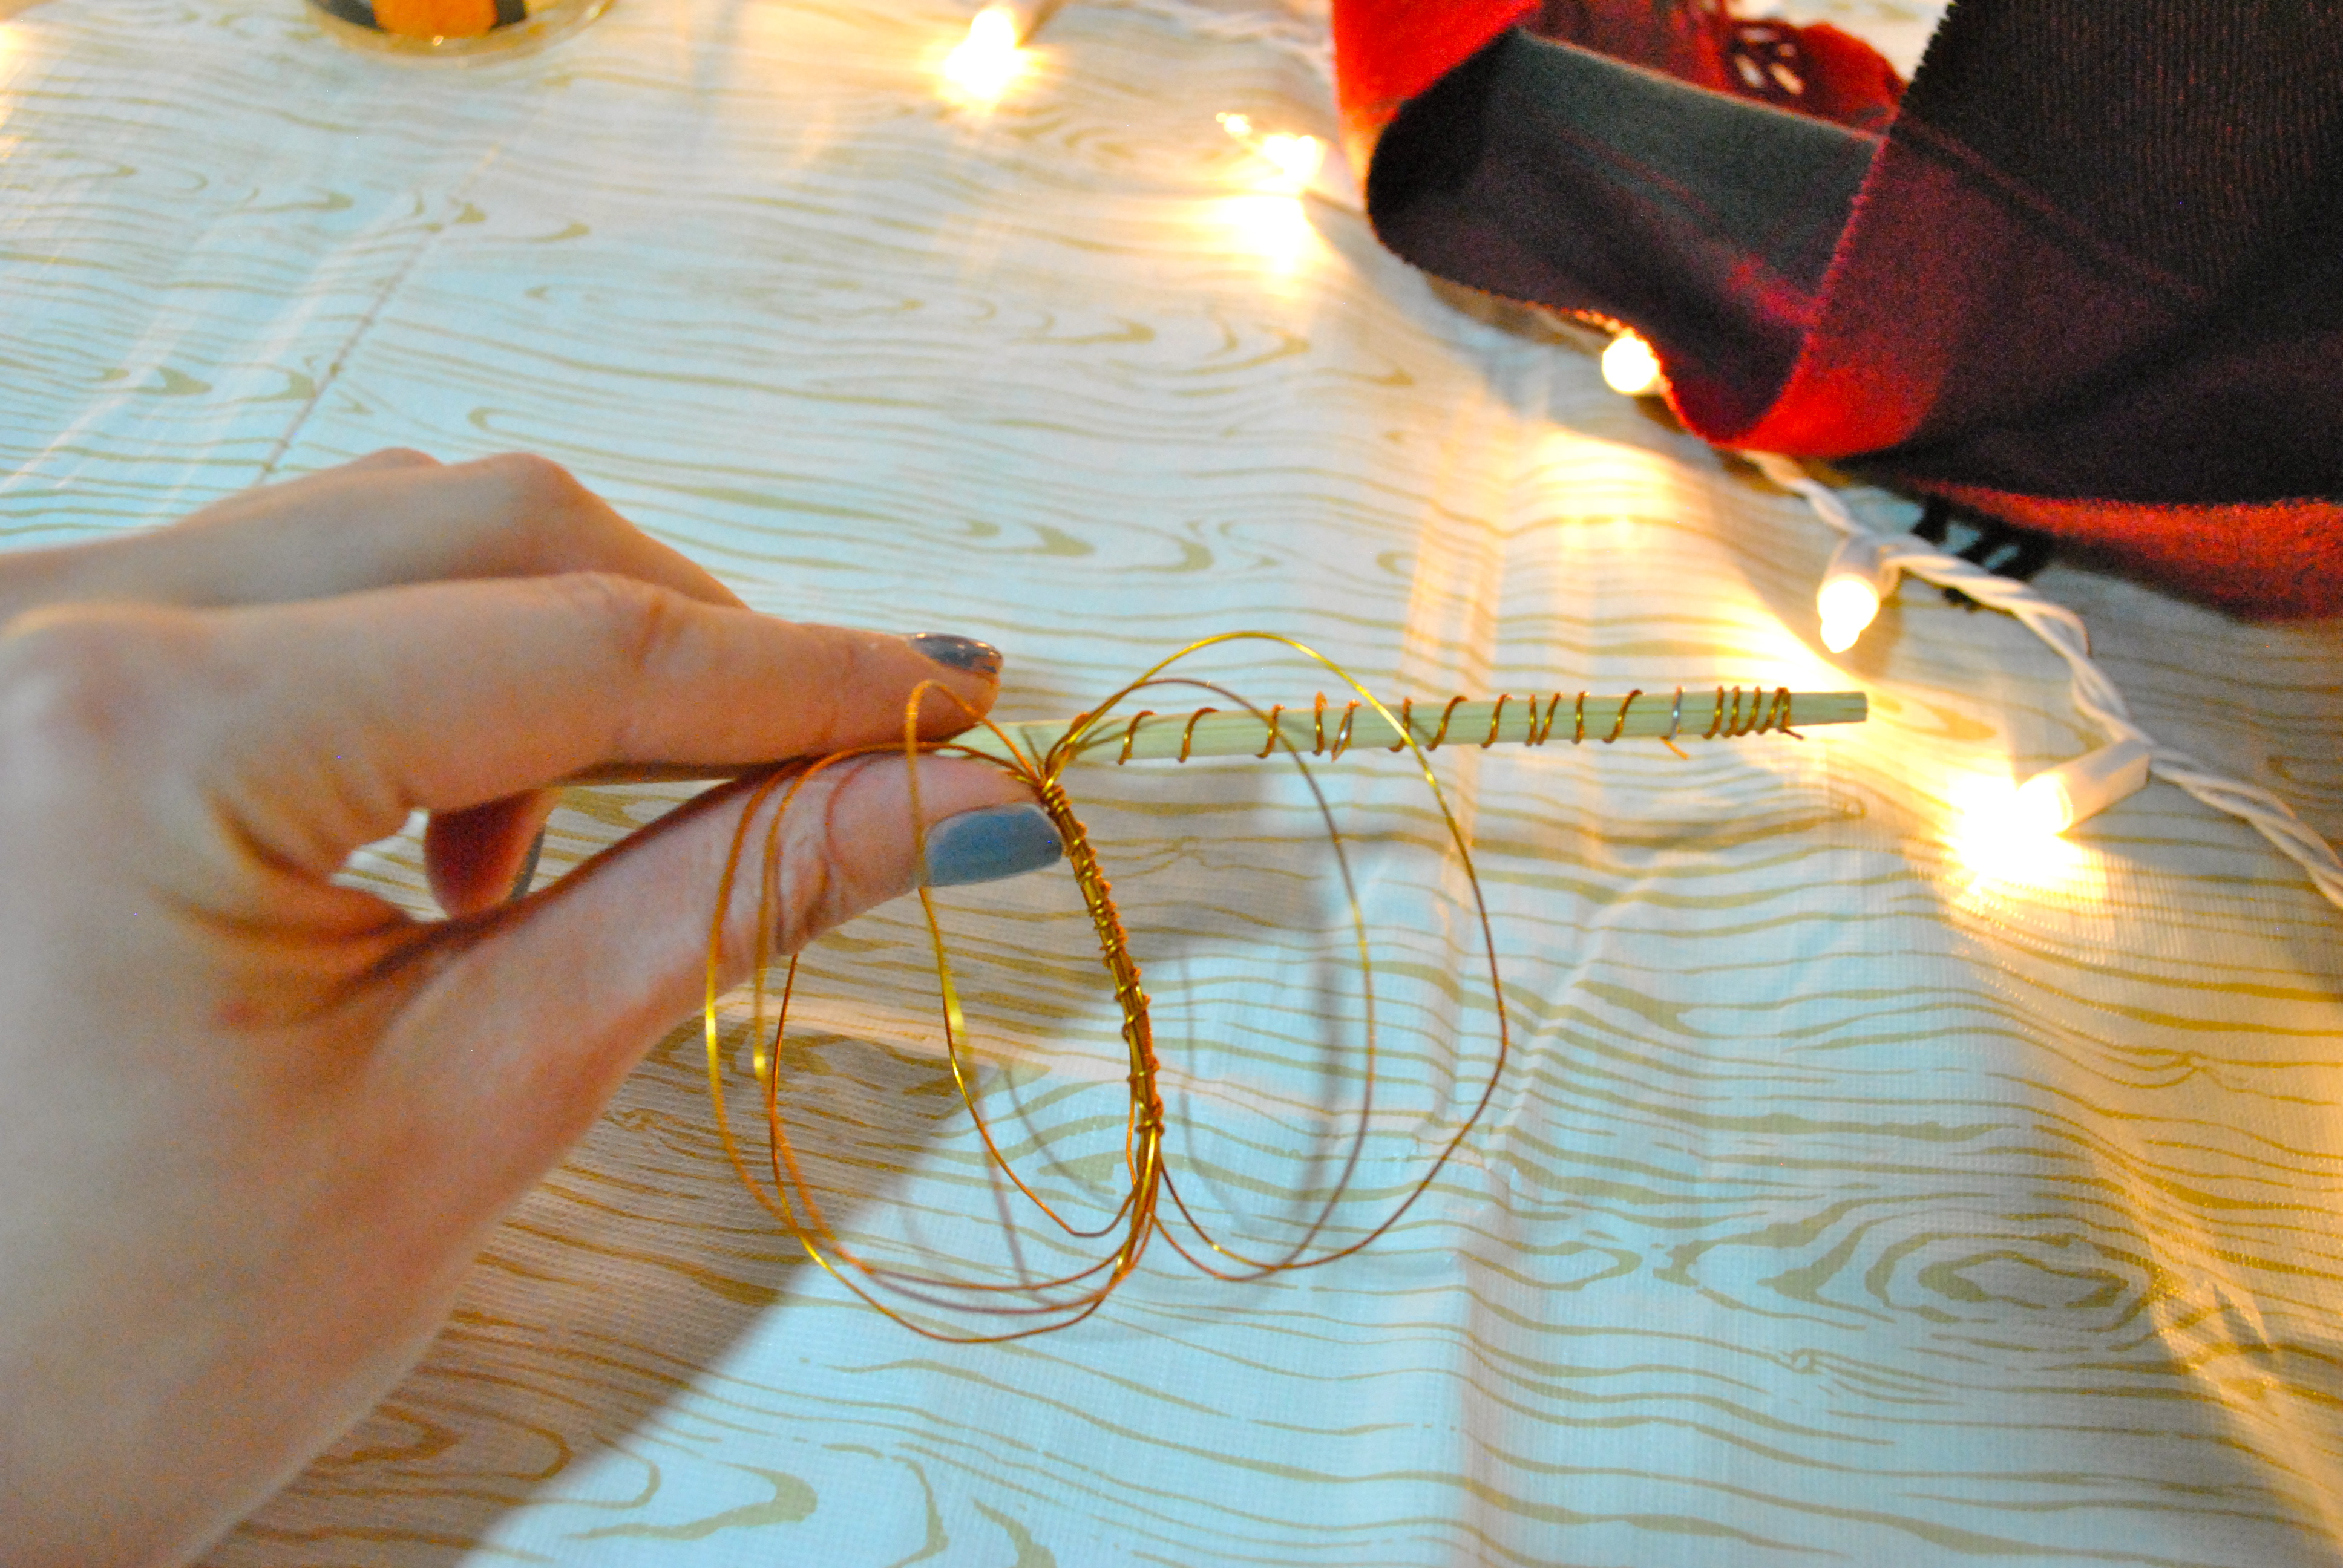
Now, all you have to do is fan the loops out around the middle, like you’re turning pages in a book. This wire is fairly flexible, so you can shape your pumpkin to look however you like.
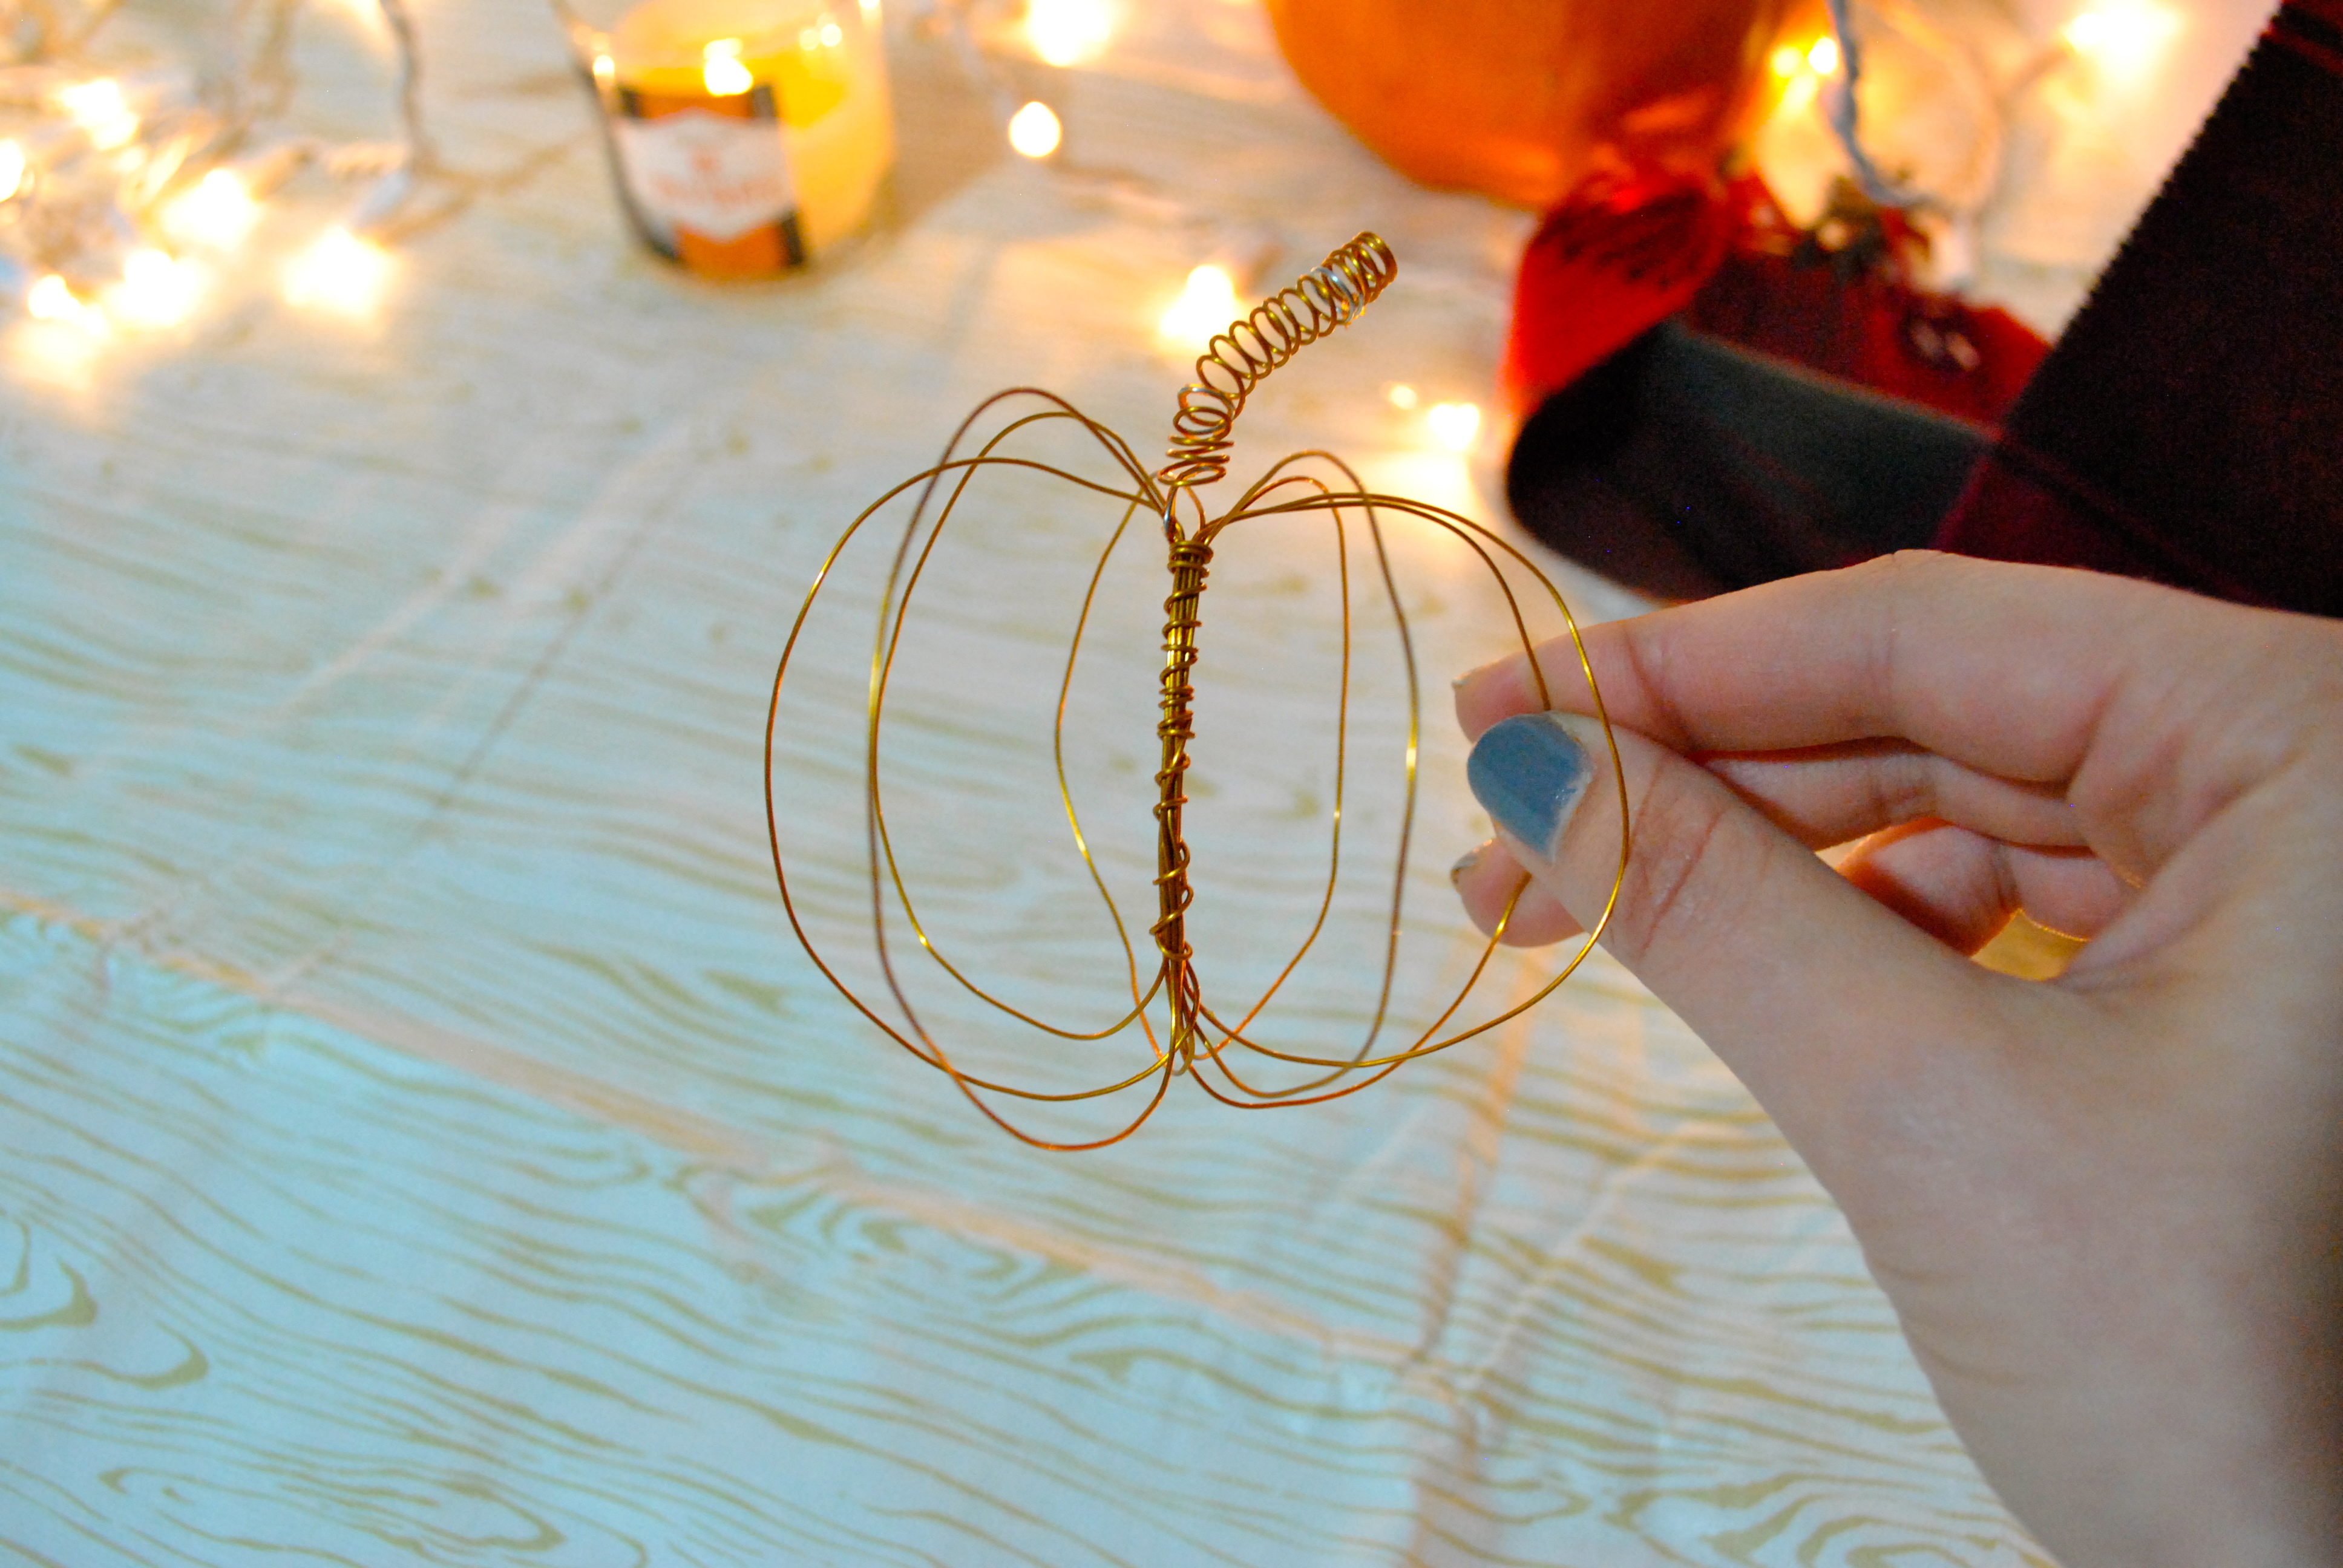
To make the stem, take that extra bit of wire sticking out and wrap it tightly around something like a pencil or a chopstick. Then push all the coils together and slide the pencil/chopstick out. Spread the coils just a little, and add a bit of a curve if you want.
And you’re done! I love these little minimalistic pumpkins. I think they are super chic and modern, while still feeling a bit rustic. And you can’t beat the price.
What do you think? Will you be making some wire pumpkins this year?
xoxo Katie

I am loving all of the DIY projects being left on this Beautiful Blog Carnival. Thank you. I am not a crafty person but I think I could do this one!
Author
You definitely could! And if it all goes wrong, you’re only out $2.00!
Wow…wow! This is a total game changer! I can’t believe how easy and adorable these are!!! I will definitely be trying these out and placing them in my office. Thank you so much for sharing!
Author
Wow, thank you Angeline! I’m so glad you like them! Also, I have been LOVING your Autumn DIY posts!
I found your blog via the Rocket City Bloggers website.
When I first saw the images on your blog, I though that these were Cinderella coaches and not pumpkins! I bet it wouldn’t take too much to make a coach.
You have an eye for photography. The lighting and the color balance in these pictures is simply amazing. What is your photography background and what is your camera of choice?
Author
You’re so right- these could easily be made into Cindarealla coaches! I never thought of that, but its brilliant. And thank you so much for saying my photos look nice! I really have no background in photography, but I really want to learn more about it. I use a Nikon D3000 for my photos, but I’m still learning how to adjust everything to my liking.
Sorry about just now replying. For whatever reason, Disqus didn’t notify me that you had replied to my comment. Bad Disqus!
I have a D70 that I learned photography on, though I wouldn’t say that I’m a “real” photographer. I think I could get there if I shot often. Unfortunately, the D70 is big and heavy and needs to come into the modern age (i.e. syncing, controlling from a laptop, etc.)
If you really want to master photography, I can recommend the photography course at Calhoun or a couple of books such as Understanding Exposure.
Adorable!